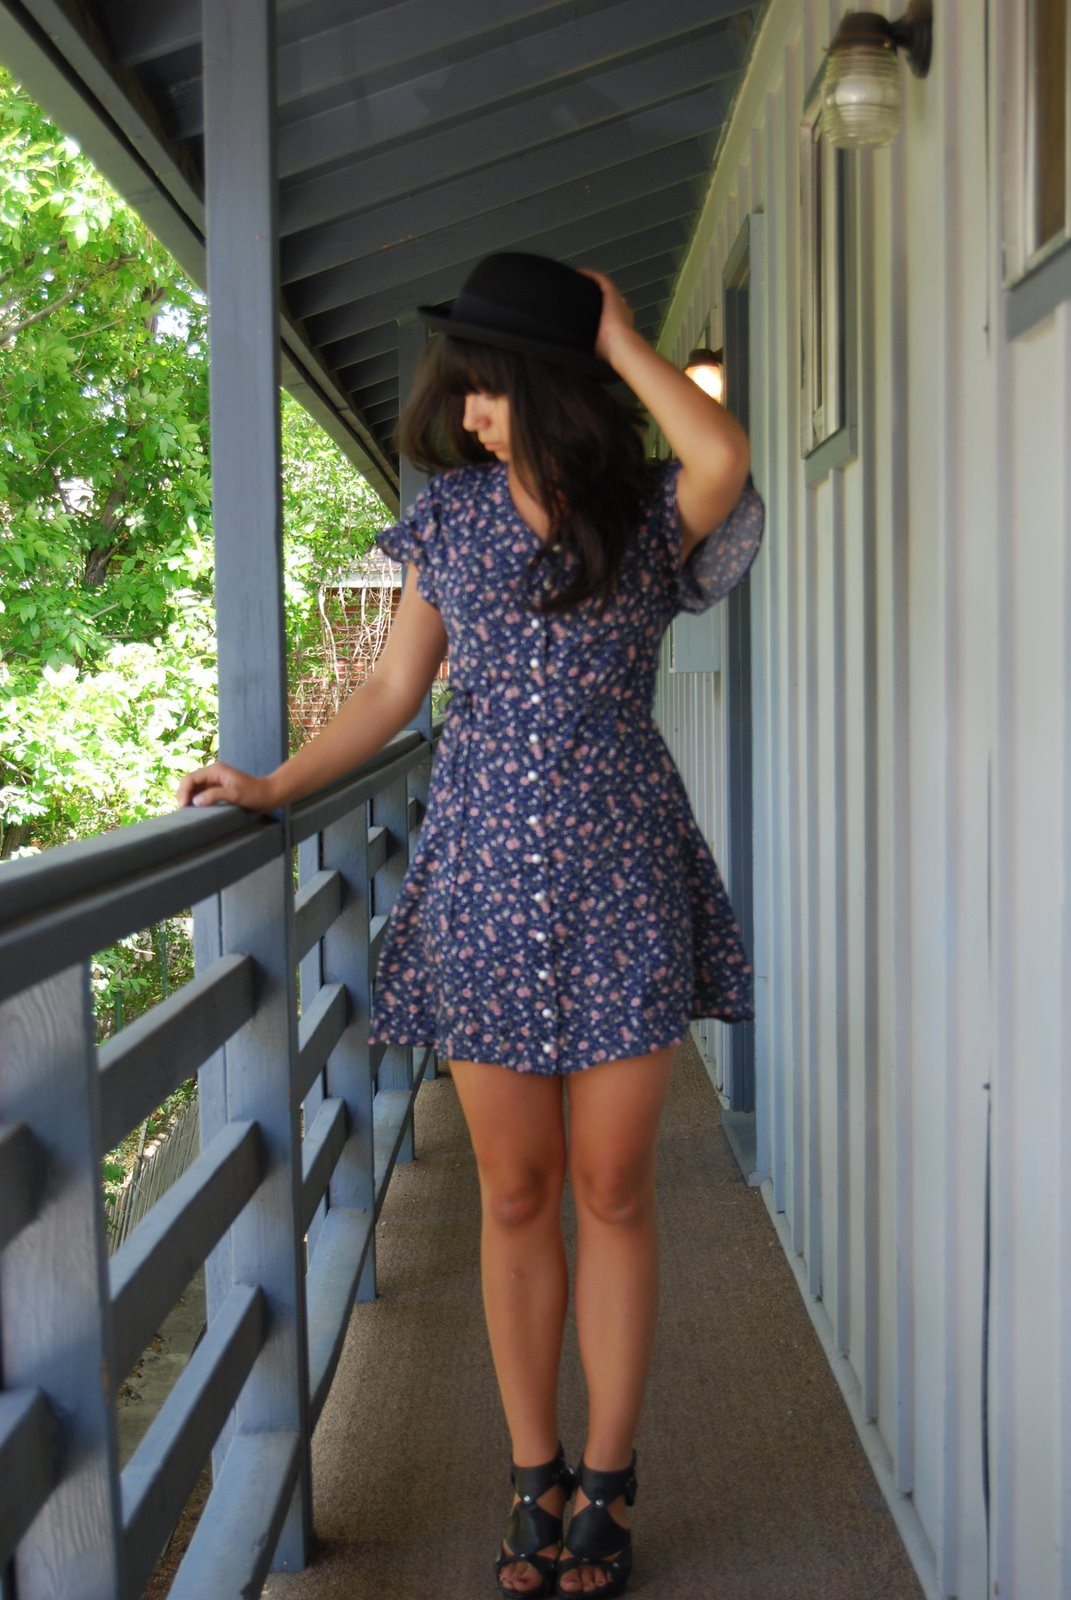
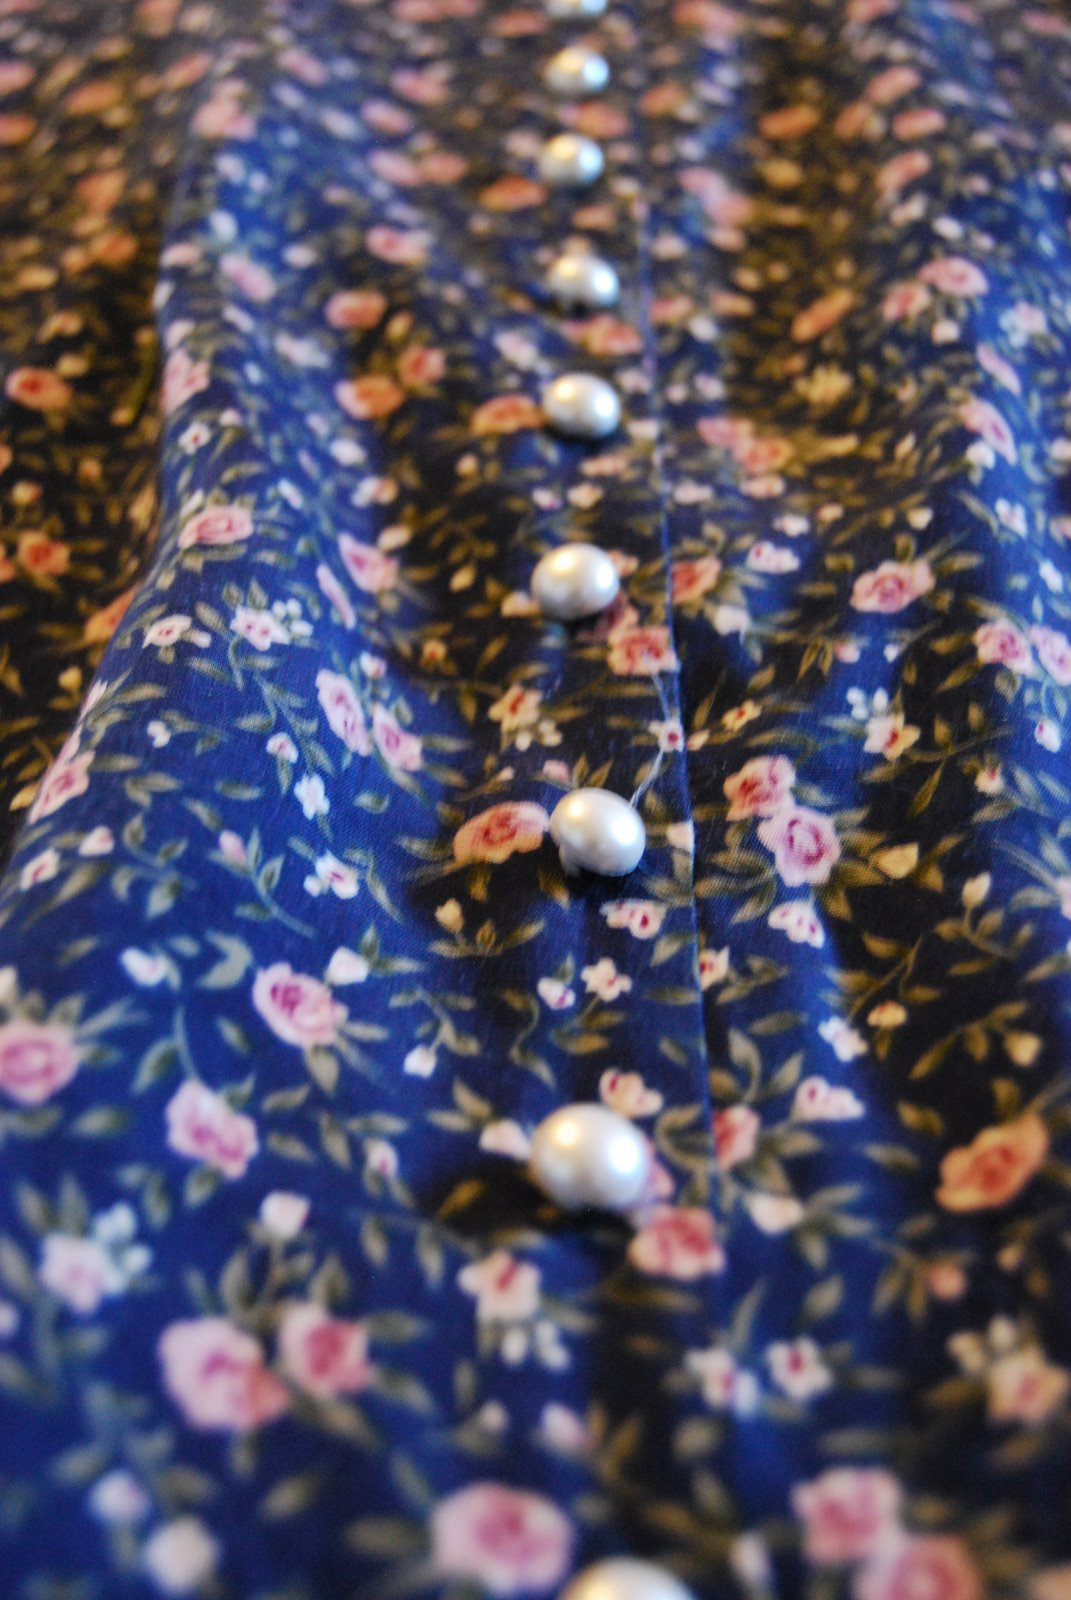
Apologies for this taking so long to post. Finals and graduation and what not got the best of me. Here's the highly anticipated DIY post that I mentioned last week, that being my rendition of the flirty, little floral dress craze that I've been seeing everywhere. Not having a whole lot of cash on me, I opted for this $6 steal from a thrift store, complete with a dainty rosebud pattern and pearl buttons down the front. Only problem? It hit right around my ankles, channeling something like a cross between my second grade teacher Mrs. Robinson and one of Warren Jeffs' wives. Oh, and shoulder pads, too. Needless to say, it needed some work:
Step #1 : Finding the right one. Alright, so this took awhile to track down and was arguably the longest part of this process - finding the right dress. I searched countless thrift stores until I trekked into Savers one afternoon, where I within minutes found this one. Personally, I had a general concept for what I wanted, think Rachel Weisz's dress in a previous post. But of course, you have to have an eye for details. And that's exactly why I fell in love with this one. The pattern was dainty enough to look older than it was, the lace backing helped give it shape and of course, the flared short sleeves were oh so princess. But the final nail in the coffin were the pearls. So sweet, so innocent, so mine.
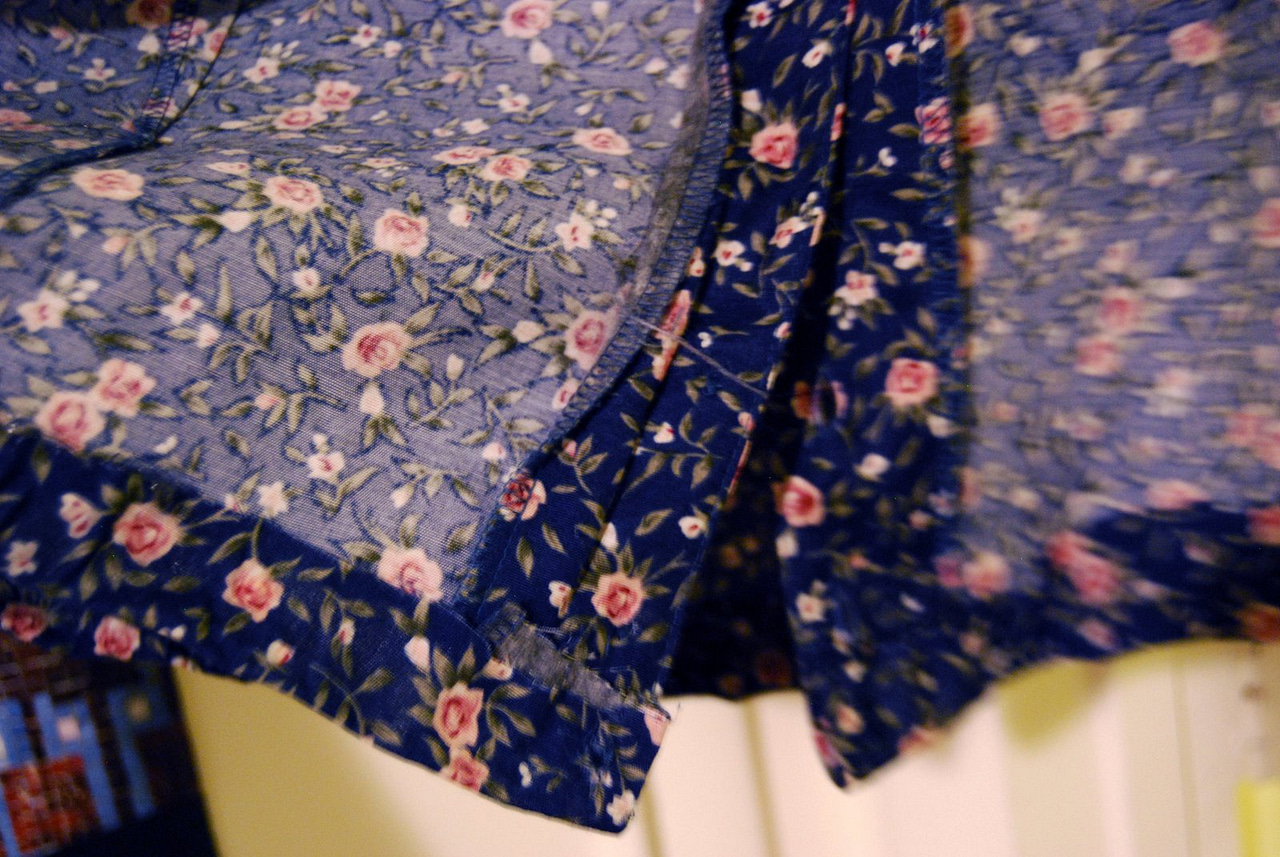
Step #2 : Snip, snip, snip. For my dress, I knew I was going to be wearing it with some pretty high heels, so I didn't want to cut off too much and risk it looking cheap. About 8 inches later, I had a rough hemline that hit a little bit above my knee. This part can be tricky though so you have to make sure you're pulling the fabric taut, to avoid any big length discrepancies.

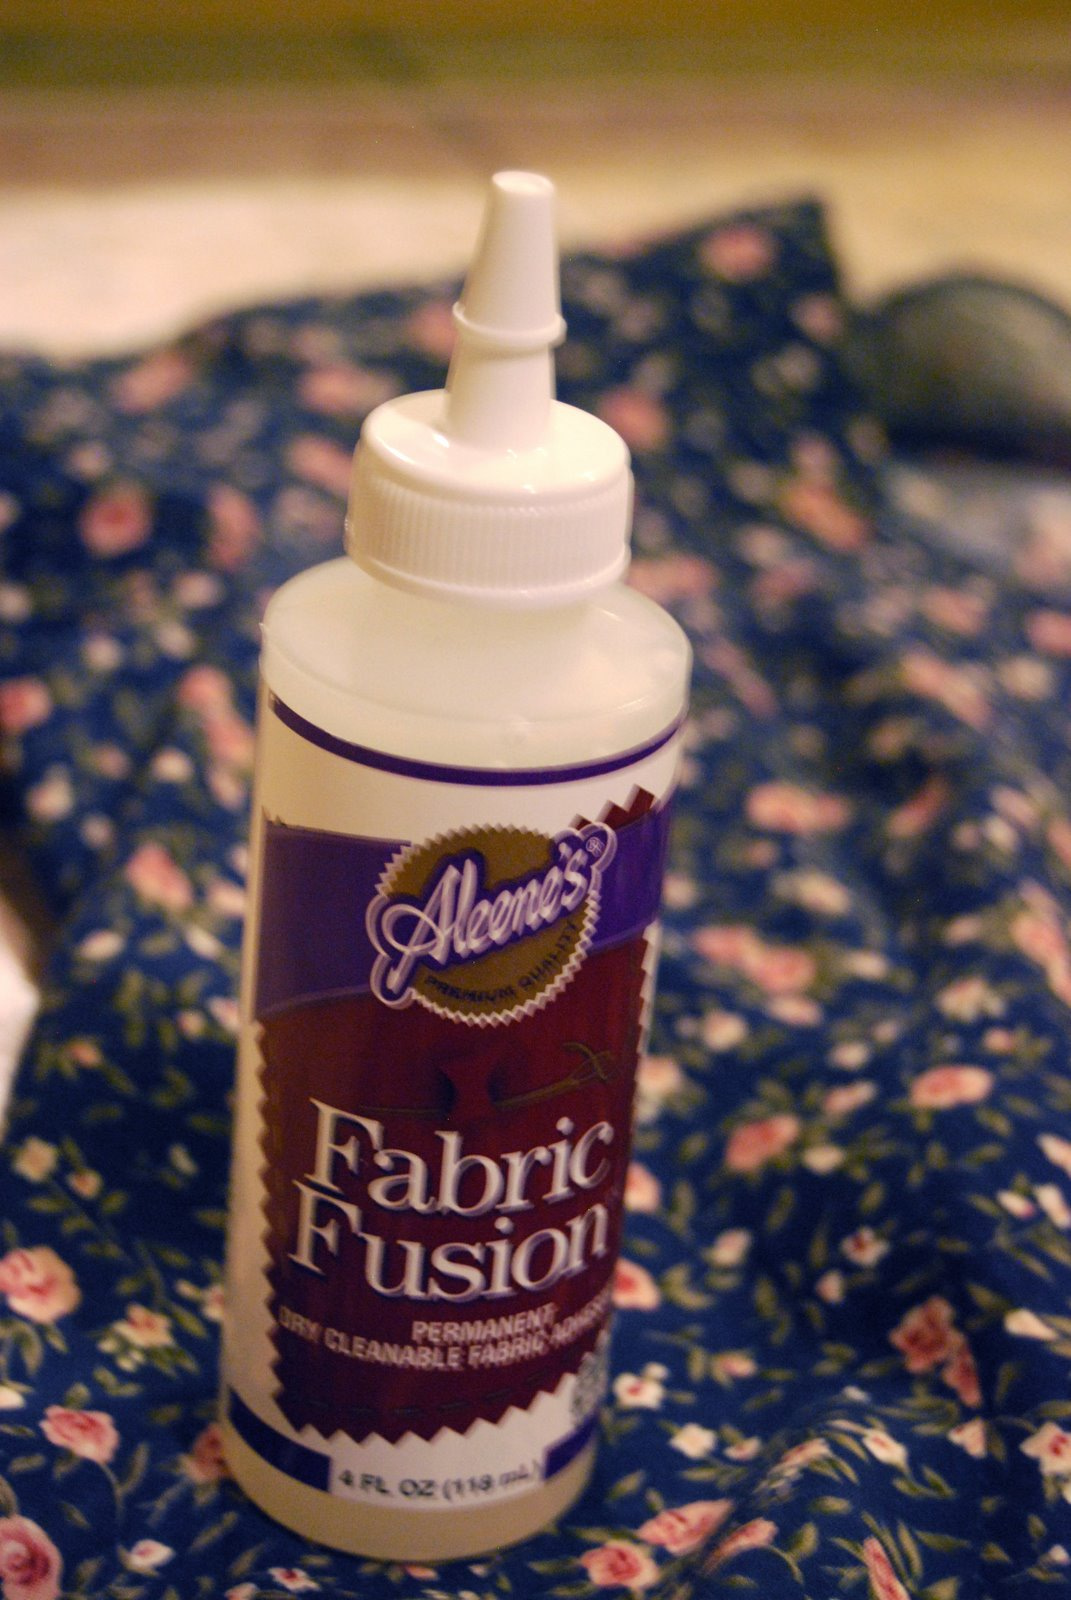
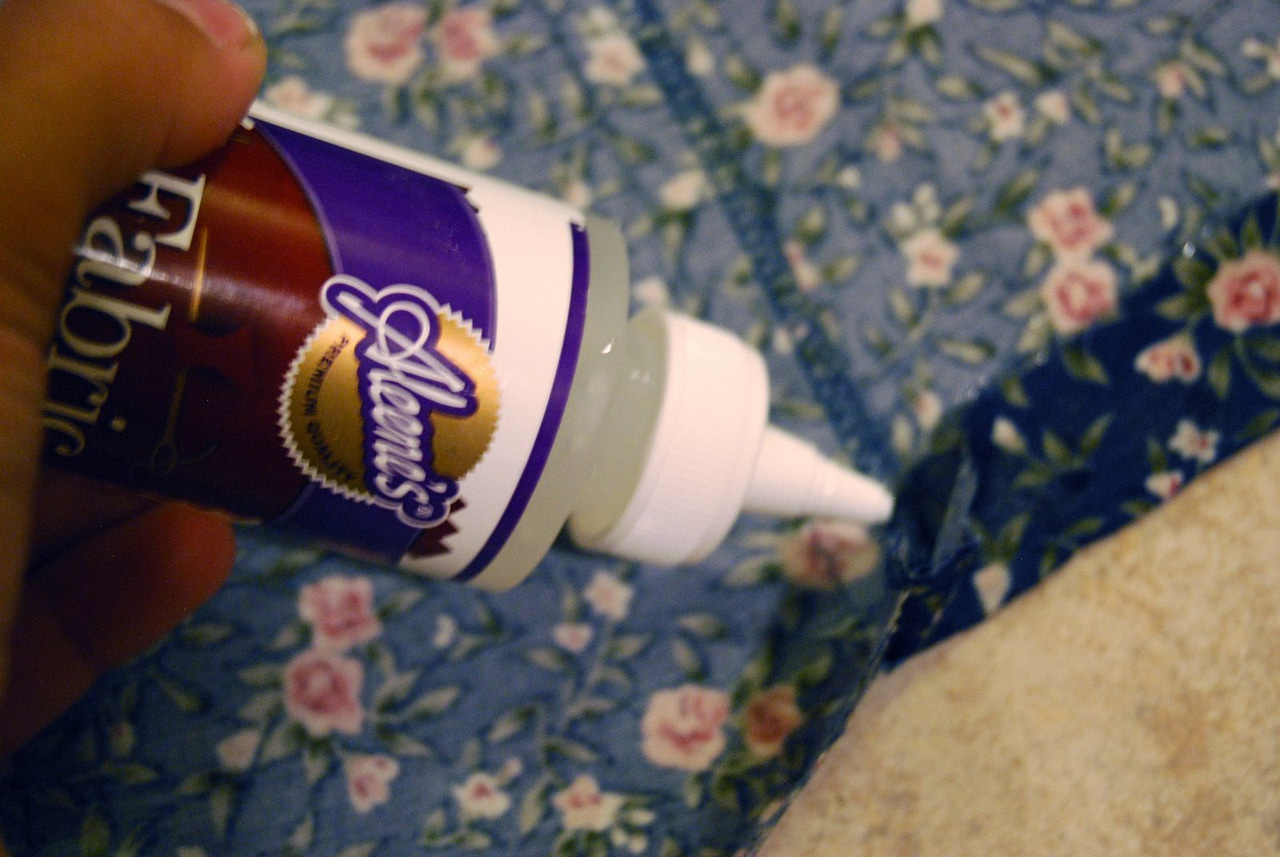
Step #3: Sticky situation. Fabric Fusion. A girl's best friend. OK, OK, at least her somewhat helpful acquaintance. I picked up this bottle of fabric glue for about $5 at Walmart, having never used it before, but the craft department associate swore by it. Turning the now-chopped and somewhat sleeker looking dress inside out, fold the bottom half and inch to an inch up and apply a thin later of fabric glue to create a clean hemline. (That's right, I glued the dress because yours truly is sewing impaired. And I don't think I'm alone.) Apply even pressure as you go around the entire dress and hang up to dry for at least several hours.
Step #4: Enjoy! I think you got it from here. Now if you'll excuse me, I'm off to a tea party.
Shoes: Black studded gladiator heels, Steve Madden Hat: Black bowler cap, Target, Photography: Krystal Bick


No comments.