
[row][half]
[/half][half]
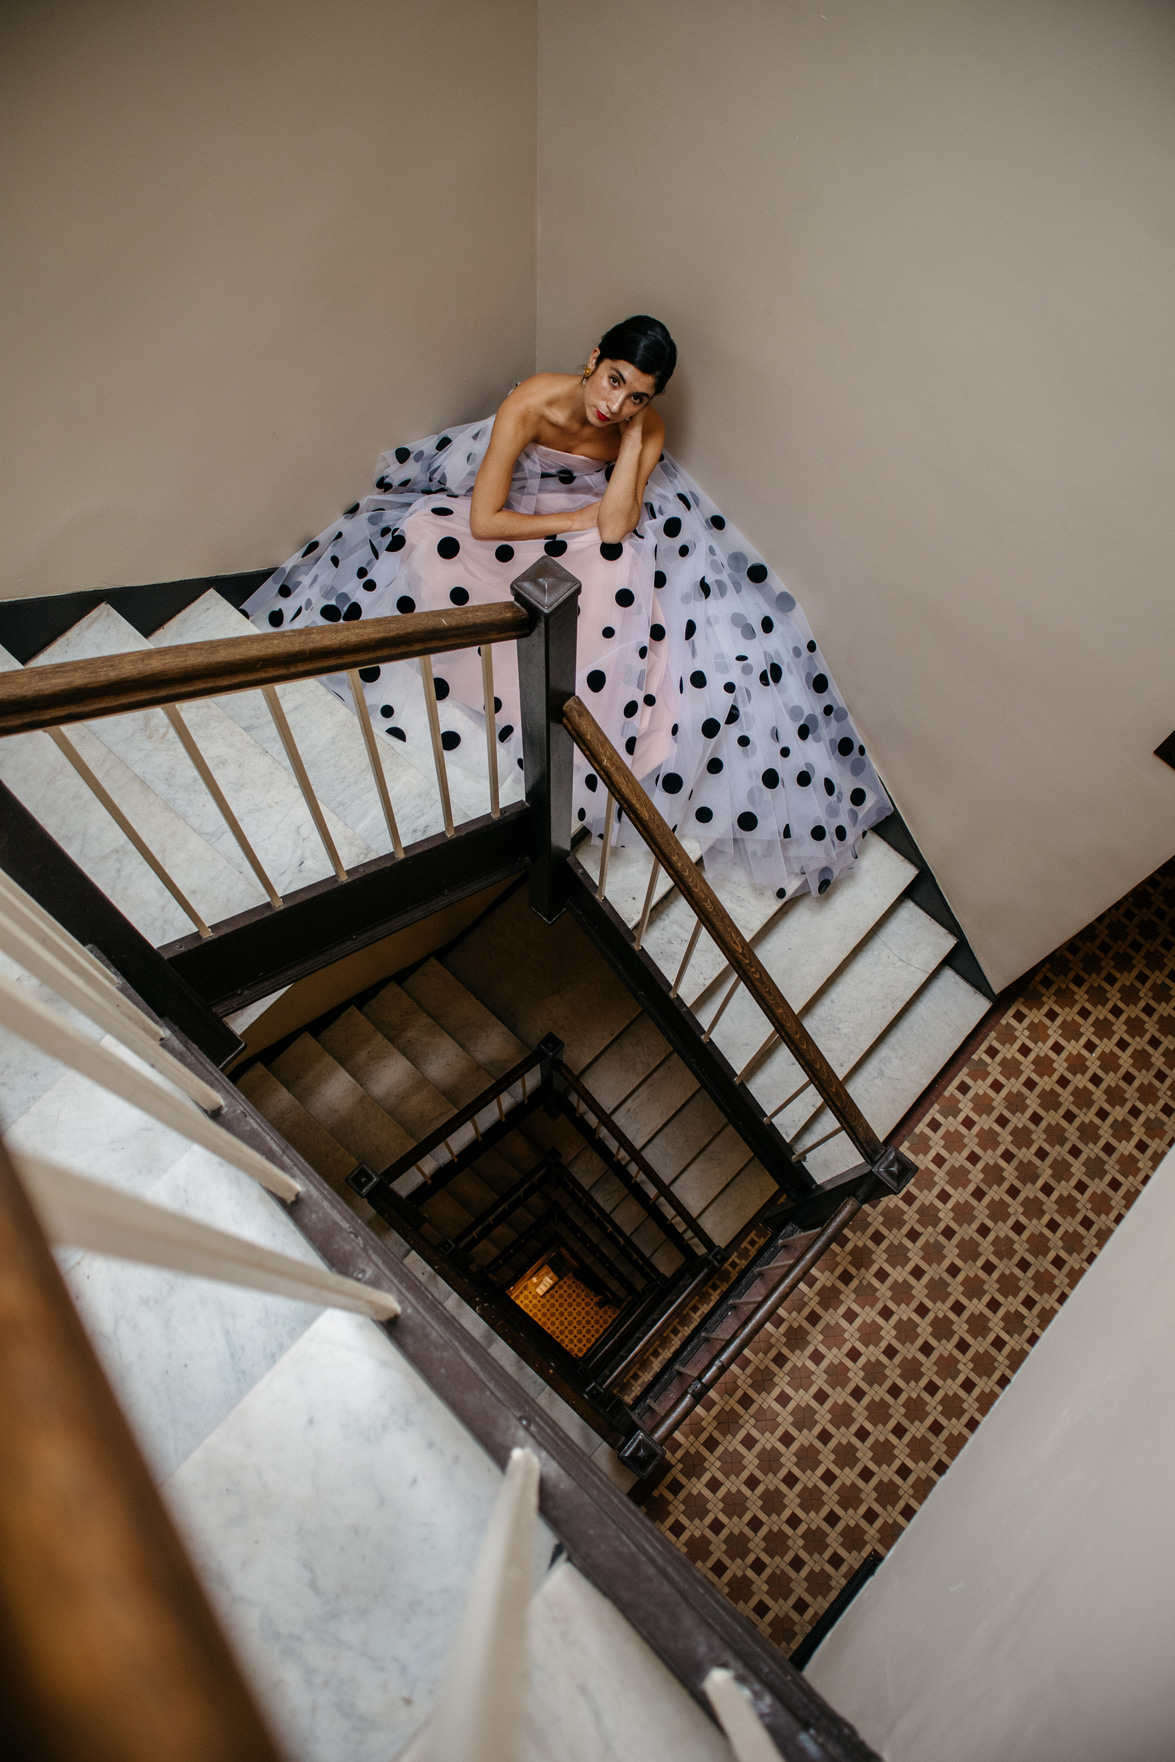
Whoa. 7 Krystals!
I've always admired these types of photographs, especially when Jamie Beck of Ann Street Studio is at the helm. I adore how whimsical she makes them, each one a unique work of art. And while I acknowledge my tutorial today will get us no where near Jamie's level, there's no reason not to try our hand at it, right?
After posting this image on Instagram last week, I was flooded with DMs from you guys asking exactly how I did it. Short answer: MAGIC. Long answer: A lot of trial and error, but all in all, it wasn't too tricky. Thankfully for you, I've put together a relatively layman's terms Photoshop guide to pulling off a similar image of your own. I say layman's mainly as a reflection of my own Photoshop skills, which are minimal at best (but I'm learning!). With that in mind, hopefully everything below here is easy and simple to follow! As always though, please feel free to leave me questions in the comments here and I (or Ty) will answer you.
Some housekeeping regarding equipment:
It's important to note, I shot these images on my Canon EOS M6 camera, a compact, mirrorless digital camera that is technically outdated now -- the newer version can be found here. But bottom line, any camera that will shoot in RAW format will do. Also, everything I've noted for editing below requires Photoshop, which I assume if you're here reading this tutorial you already have it downloaded, but in case you don't, you can always sign up for a free 7-day trial right this way. I also shot these images with my handy little remote, which was a godsend considering climbing these stairs back and forth with a self-timer in a gown would have been a nightmare. And of course, I had my tripod.
Part 1: Shooting
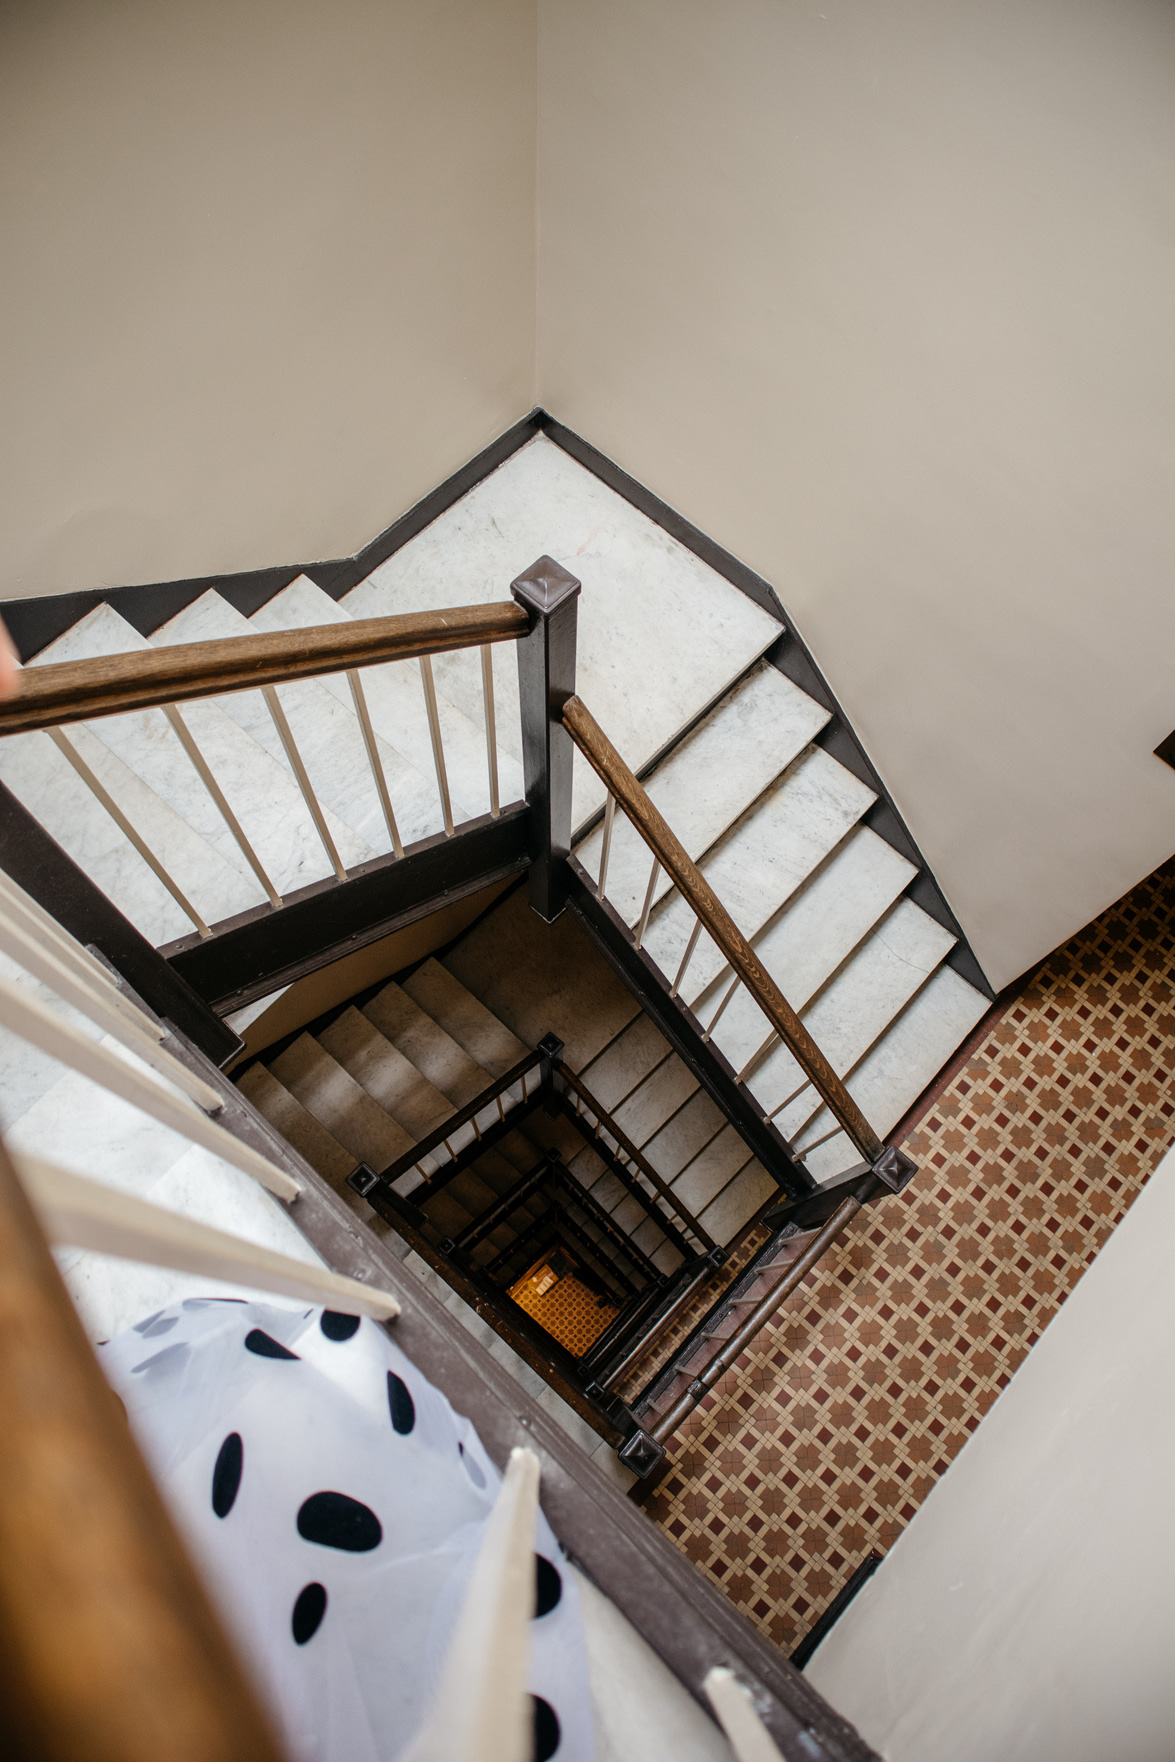
For ease and simplicity sake, I would try to pick an environment setting where you will have no or very few element changes. I.e. You alone somewhere is ideal, without interfering traffic or people . Ironically enough, we are all probably in the perfect environment to pull off a shot like this -- that being alone at home. I chose our stairway because we have zero foot traffic going through our hallways at the moment (rightfully so) and I thought the depth perception of different floors would be fun to play with. You could just as easily use a blank wall in your apartment/house, your rooftop, your backyard or your balcony (again depending on the size of the space).
[/half][/row]
Once you've selected your desired space, it's important to be mindful of lighting and to stay aware of how consistent it will be throughout your shoot duration. Since you'll be layering multiple images together, you'll want to avoid your light sources changing drastically throughout the shoot because it'll cast a different effect on you, making it harder to edit as one cohesive image in the end. That isn't to say you can't edit each image in post-production to look similar, but it will make it a bit trickier. For the sake of this image, I shot these images pretty quickly (under an hour) in the afternoon on an overcast, rainy day so my light source was very consistent throughout my shoot (sunlight was coming in via a skylight at the top of the stairway).
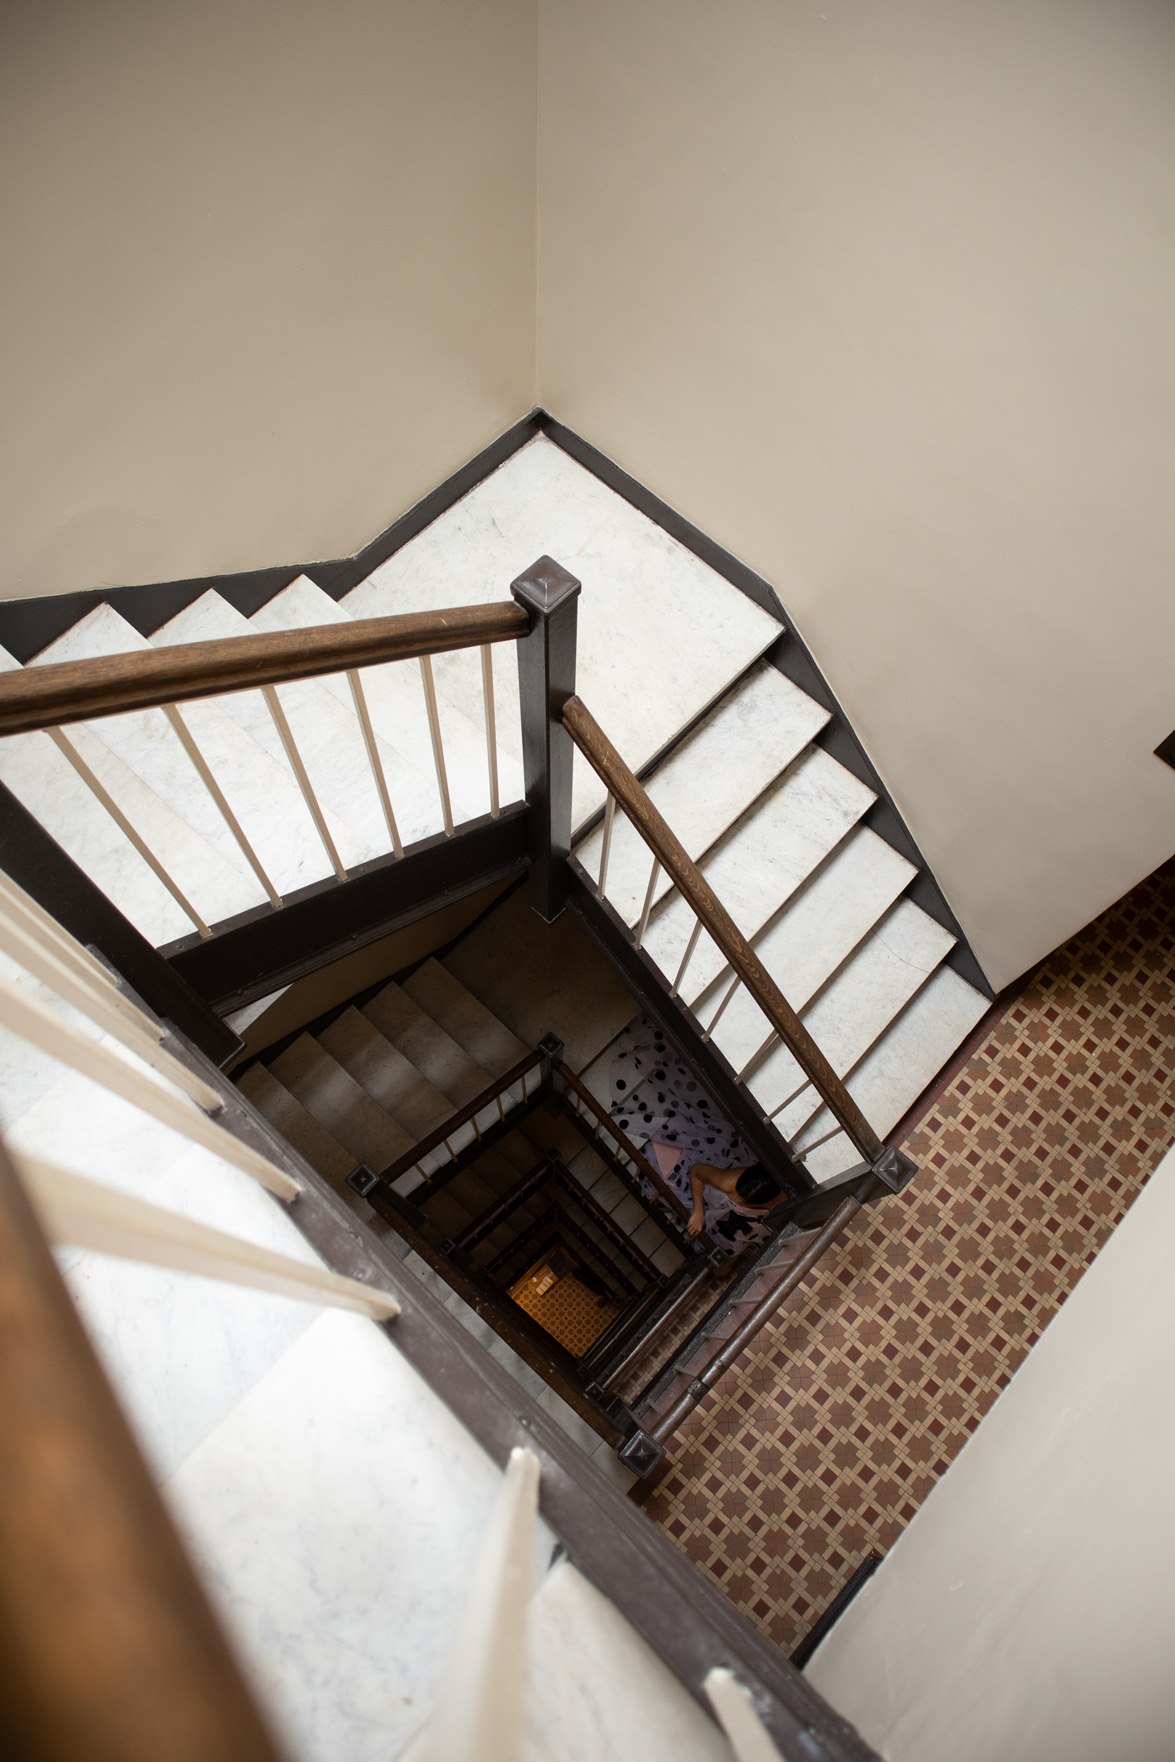
Select where you want to frame your hero shot (perhaps one version of you that will be the strongest and most in focus) -- for this particular image, that was me sitting on the ground in the corner, since I knew the light would be nicest and strongest on me there. Once you're happy with the composition and framing, set up your tripod firmly here in this spot. Please note: the tripod and camera cannot move from this exact spot for the duration of your shoot. Be very mindful of this.
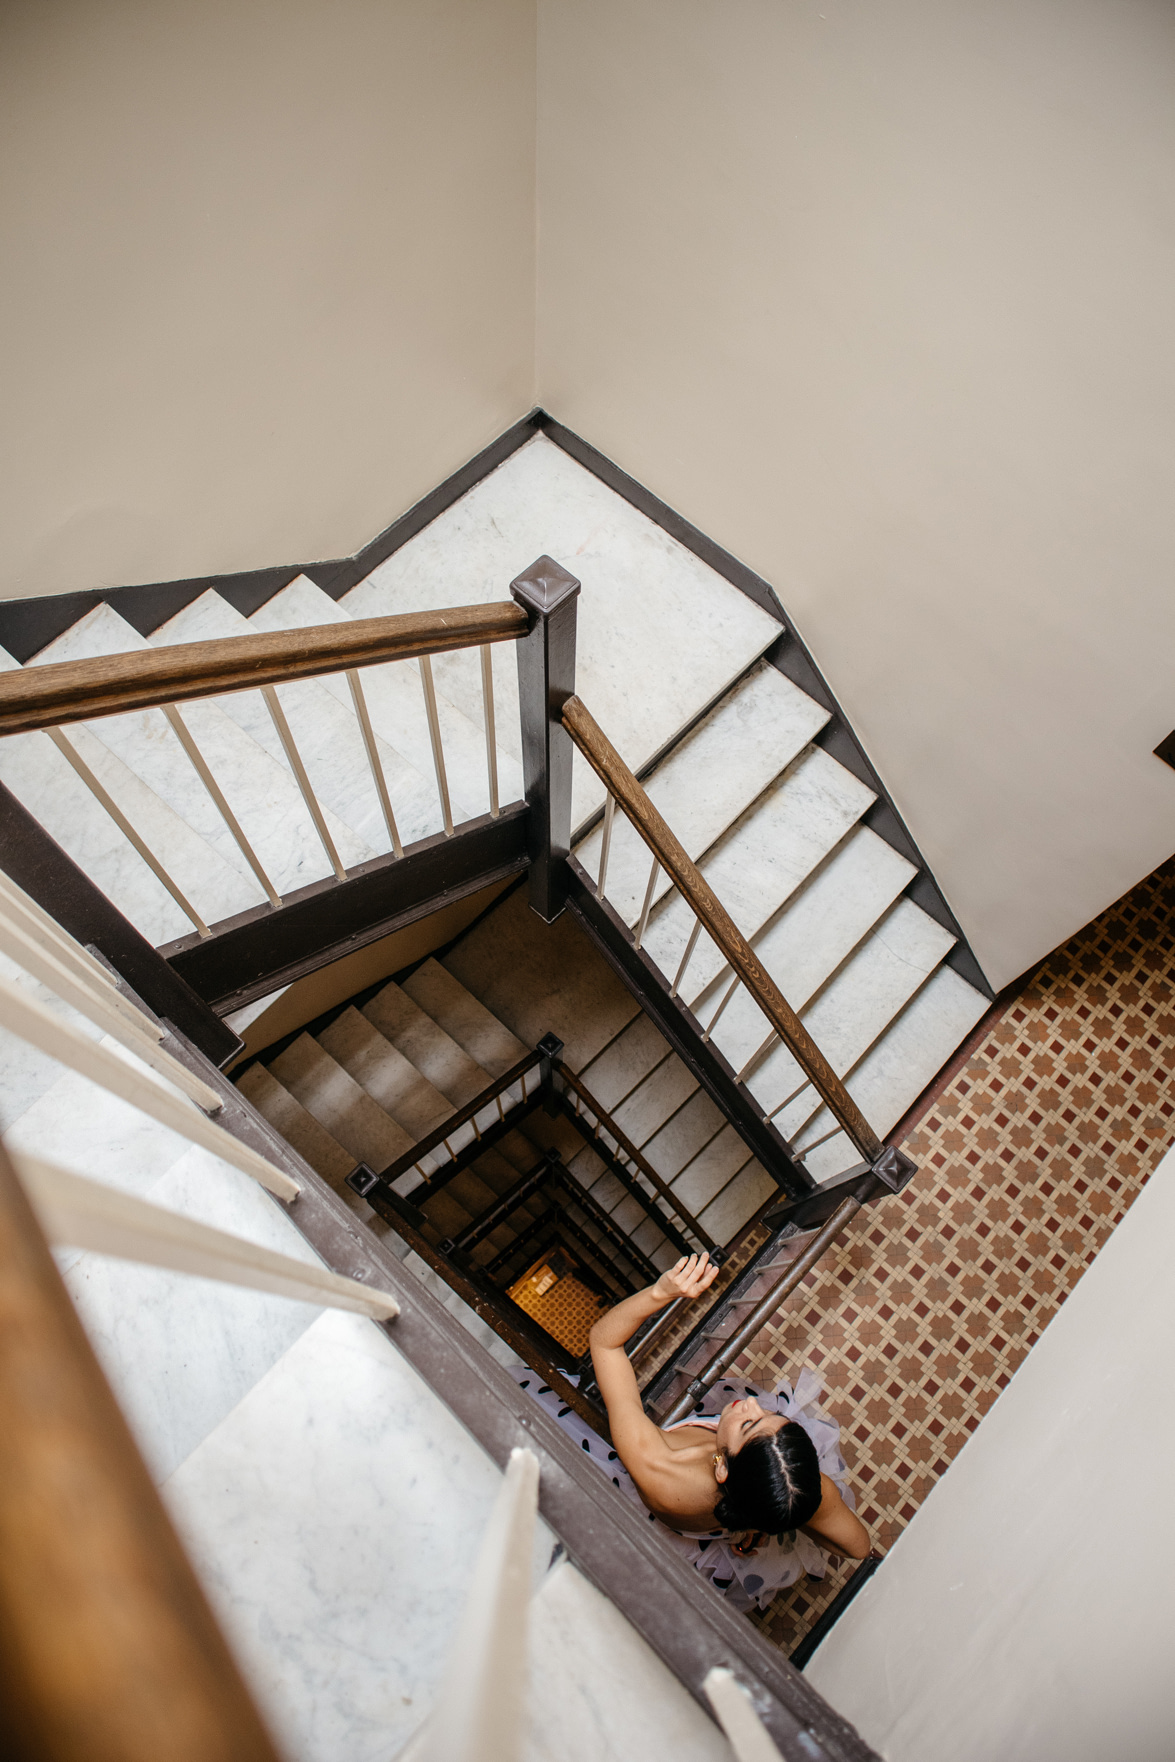
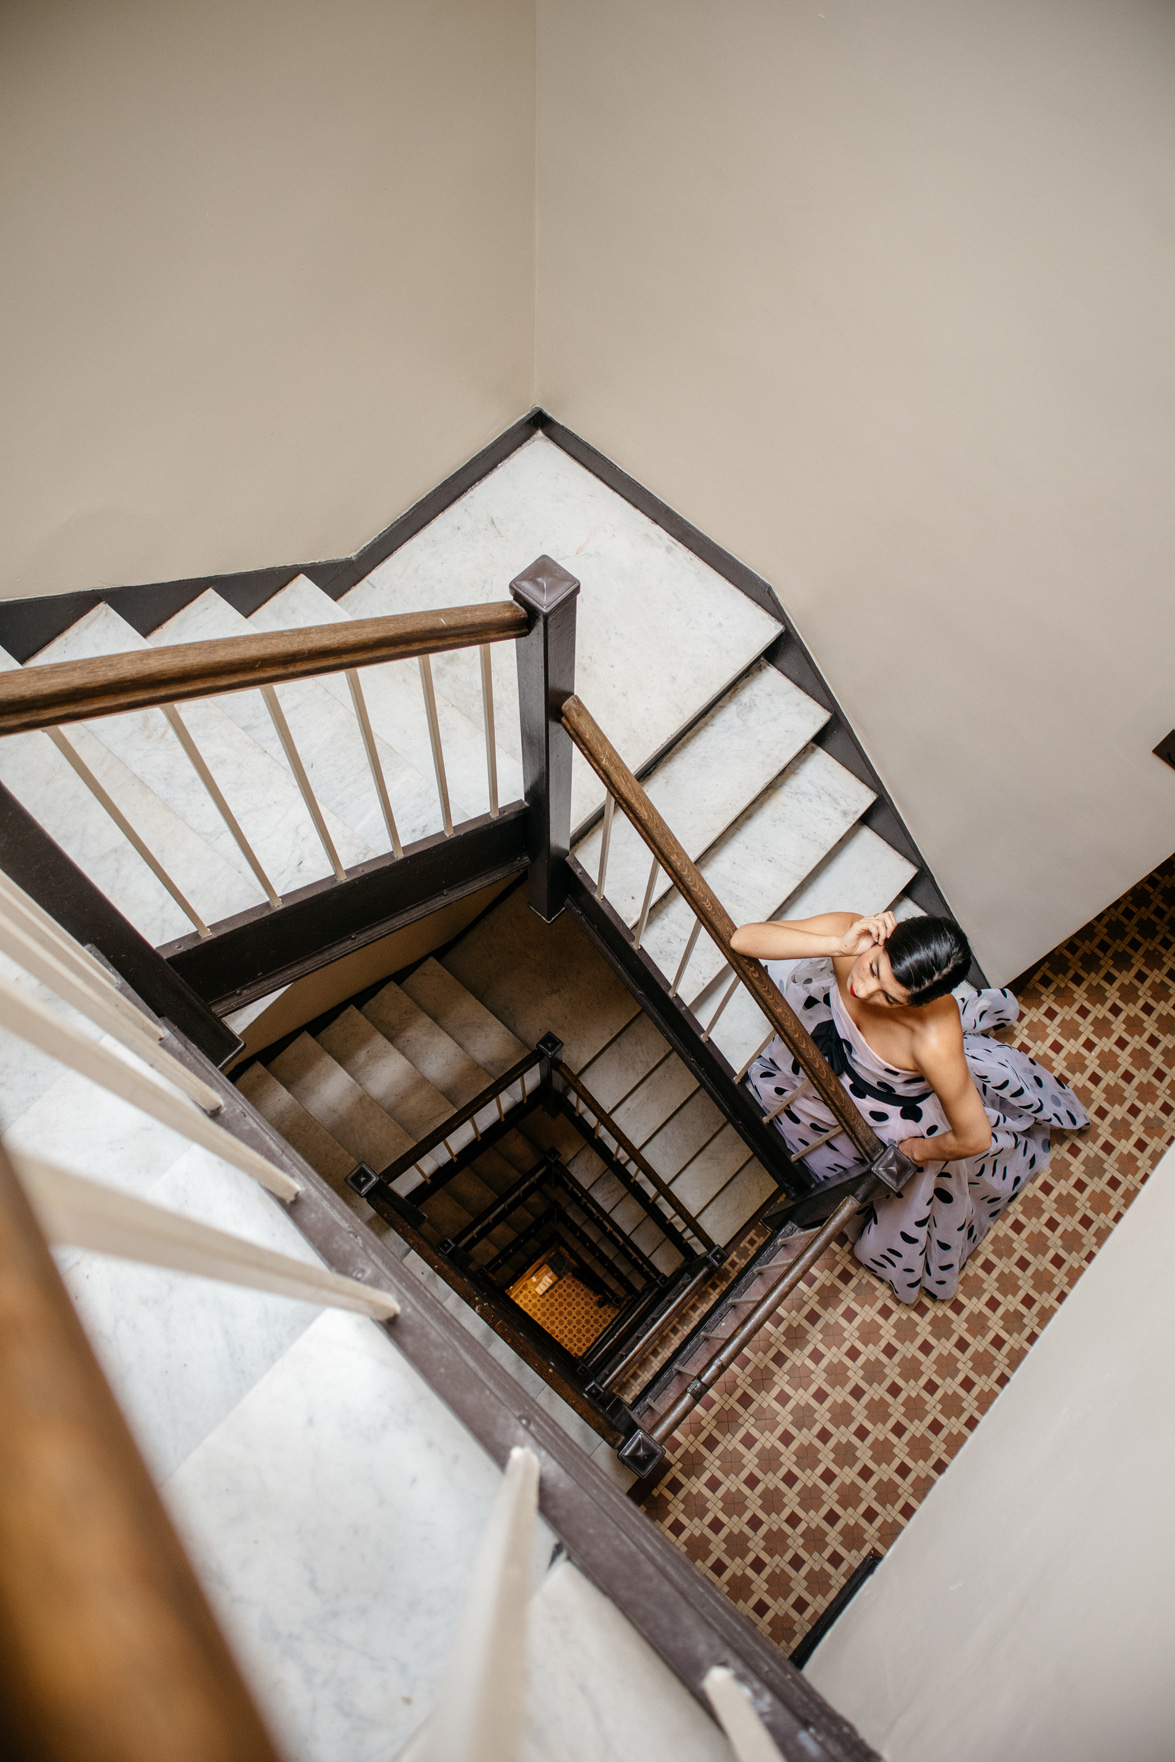
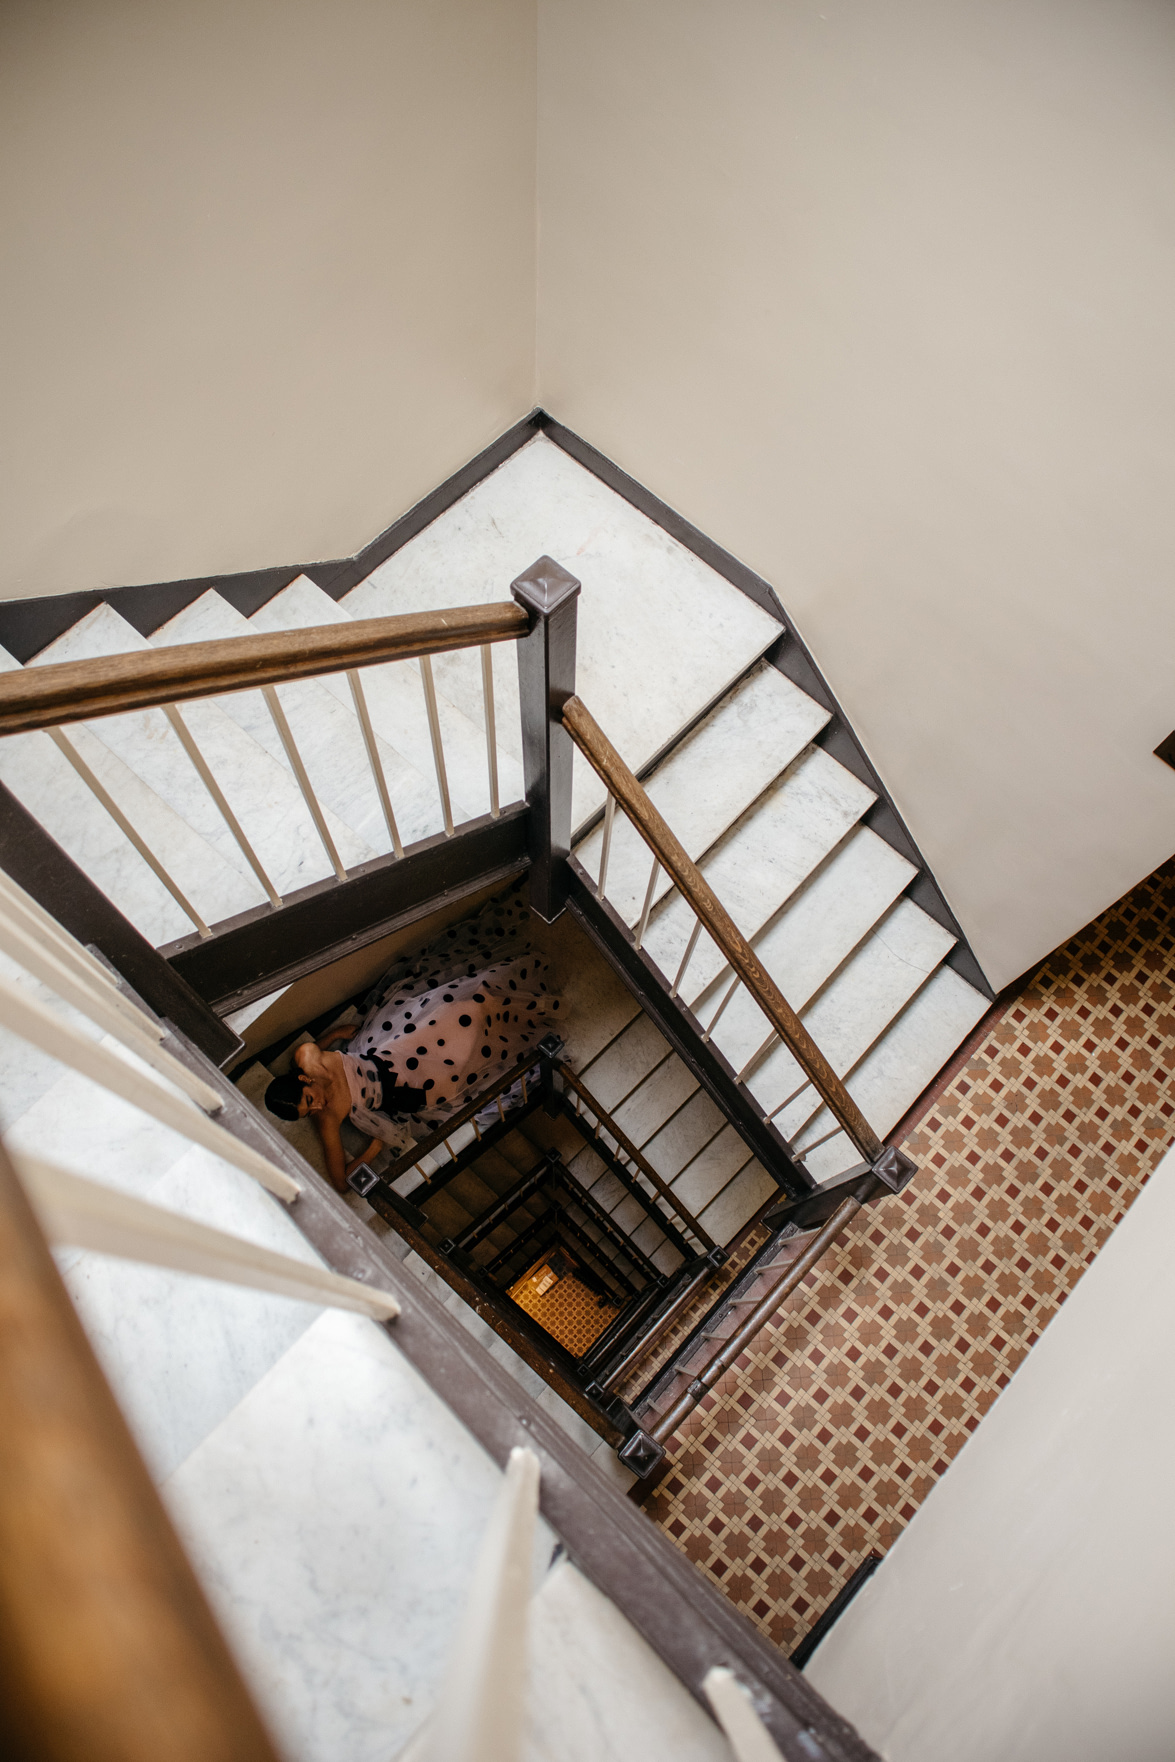
Now comes the running around part! Ideally, you have a remote in hand, which will make this easier, but a self-timer function on your camera will suffice as well. Start in your hero spot (again for me, that was me sitting in the corner) and map out your subsequent spots in your head, making sure to avoid overlaps along the way. What do I mean by overlaps? Overlaps would be any spots where my Krystals would end up touching essentially, like the hem of a dress touching an arm of another Krystal. Again, this isn't to say you can't have overlaps, it just makes the editing a bit harder and since yours truly isn't AMAZING at Photoshop, I opted to avoid overlaps.
Feel free to shoot a lot here, you'll never regret having more options than less. And have fun! Try to vary up your poses and expressions to lean into this type of shot.
[row][half]
Part 2: Editing
Once you feel confident you have a good variety of shots, you'll want to narrow down to your final frames -- for this particular shot, I have 7 different frames, including two shots where it's just my dress peeking in at the corners. Edit your final photos how you would normally edit your photos -- for instance, I always edit mine in Lightroom.
Once you're happy with those final frames, fire up Photoshop and I'll fire up a list format for the rest of your steps:
- Go to File > Scripts > Load files into stack > Select all your FINAL frames, which will load all of your final photos into a PSD file with separate layers for each image.
- Select your hero image and drag it on the bottom of the stack.
- In your layers palette, select the next layer above the hero image. In your tools palette, select the polygonal lasso tool and update your feather amount (at the top of your screen) to 20px as a starting point. Depending on the size of your image, you may want a lower or higher feather amount here, so it might take some fine tuning. The feathering here allows you to create soft edges to your selections, which will make it easier for you to blend your photos together seamlessly. The higher the number, the softer the edges.
- Using the polygonal lasso tool, start drawing around your figure until you make a complete end to end selection. Once you do, you'll notice the line turns into a marching ants animated line, meaning your selection is complete. There's no need to be super precise with this perimeter you're drawing, just make sure it gets all of you.
- Then, go to your layers palette and select the button at the bottom that looks like a camera (rectangle with a circle in the middle) -- this will add a layer mask for just the area you've drawn around yourself.
- Repeat this step for each image in your stack, with the exception of your HERO shot.
- Once you've completed all cut outs, go to your layers palette and make sure each layer is visible (the eye icon should be turned on), and watch as all of your images layer into one shot!
- That's it! You may want to go back and fine tune your selections and/or feathering options for each, so I would just experiment along the way to see what works best for you.
[/half][half]
[/half][/row]
I'm aware I've probably oversimplified this tutorial (I'm not a Photoshop wiz), but I do hope it makes this technique feel somewhat more approachable and achievable with a little practice! I don't know about you, but I'm certainly practicing a lot these days.
If you happen to try this tutorial out, please do let me know how it works for you!
[row][half]
[/half][half]

[/half][/row]
[row][third]
[/third][third]
[/third][third]
[/third][/row]
OUTFIT DETATILS: Carolina Herrera gown (borrowed, not available yet online but I love this polka dot cocktail dress)
Photos by me


This is amazing! I definitely want to try this! Do you have any preset recommendations for Lightroom??
[…] Krystal of This Time Tomorrow shares a Self-Portrait Photoshop Tutorial. […]
[…] Looking for something to get your creative juices flowing!? Try this self-portrait photoshop tutorial. Krystal is a genius! […]
This picture turned out so amazing!!! I love that you are staying creative in quarantine. I am also really impressed by your photoshop skills. Every time I try to use photoshop, I end up with tears in my eyes haha! I hope you are hanging in there <3
Jill
https://jilliancecilia.com/