[row][half]
[/half][half]
Welcome back, everyone!
Hope you all had a restful weekend -- staying in, healthy and safe. And, as much as possible, I hope it was a chance to catch your breath after a few tumultuous weeks. Today, I just wanted to start off by saying that while my primary efforts will always be spent on sharing my current inspirations, musings and thoughts with regard to fashion, beauty and travel, I don't take any of my platforms for granted and I suppose I'll always feel responsible in some way to acknowledge our collective situation, especially when it's as monumental as COVID-19. I consider you all friends, confidants and peers -- and I love being able to discuss both things of beauty as well as reality with you all. I think it bonds us together. That said, I'll be trying my best in the weeks ahead to make this space a creative solace for you all -- a place to escape, to be inspired, to reflect -- in hopes it provides some comfort for you. Of course, we'll never ignore what's happening outside the confines of this creative space, rather I'd hope to create with it in our hearts and minds as respectfully as possible.
This past weekend, my guy and I set up our home photo studio -- as we were both itching to create something new. For context, Ty is an amazing photographer, with a decent amount of equipment of his own, but after playing around a bit with our setup, I realized how easy it would be to set up your own DIY photo studio, using items you likely already have around the house. Since a few of you asked last night via DM, I figured I would put together a little cheat sheet of how to assemble a studio corner of your own. For ease sake, I won't be addressing too much about cameras, camera settings and camera equipment (as that's a whole other topic for another day best tackled by Ty probably), but I'll try note a few pointers or budget friendly investment recommendations that might take your set up to the next level, should you want to purchase or learn something new.
[/half][/row]
1. Experiment with spots: As someone who LOVES outdoor location scouting, I'll be the first to admit being confined to my apartment to create felt limiting at first. But I'm trying to see this as my chance to better acclimate myself with studio shoots. A big part of that is being able to see your current space in new ways. Of course, you may want to only limit yourself to setting up near a window where natural light is coming in --which, if you have great natural light, by all means, USE IT! If your space is more like ours, where natural light can be hit or miss, depending on the weather and time of day, it's nice to have a setup that you can rely on regardless of what time you're shooting.
You'll want to track down a spot that gives you and the focal length range of your camera some room to maneuver. An open wall in your living space would work great assuming you have enough distance between the camera and the subject. If moving furniture is an option for you, try it! But also, don't be afraid to explore some of the common areas of your building either -- like the basement or your rooftop, assuming you would be out of a crowded area for either. I realize, given the nature of our restrictions right now, you'll have numerous limiting factors to deal with so try not to put too much pressure on getting the perfect spot right away. You'll learn to play around with your respective equipment, lighting and studio location as time goes on.
[row][half]
2. Don't be afraid to play with lighting: This one can be daunting at first, I won't sugar coat it. But if you approach lighting as a game of "what if we tried this...?" and just gave it a shot to see what it looked like, you'll be very pleasantly surprised at what you come up with! Wherever your station is, I would try to eliminate any overpowering light that you're not planning on using -- florescent overhead lights for instance usually don't do anyone any favors. Instead, use ambient lighting as your base to work by. A soft table lamp will do, so you can see better see what you're doing.
Next, pull any and all lamps, flashlights, reflective items (mirrors especially) and soft, somewhat transparent fabrics (like drapes, sheets or even clothing to be honest). For the sake of building familiarity, I'd recommend shooting a few still life setups first, before you move to portraits (especially if you plan on shooting self-portraits) -- use a small table to arrange your items (fruit, flowers, books!) and move your lighting elements around to see what effect it has on your subjects. Try adding multiple sources of light to add dimension or extra shadows. Try reflecting the light into a mirror so it bounces off on your subjects. Try draping fabrics over your light sources to diffuse them or cast a color to the glow (this is where sheer/mesh/tulle/organza clothing items would be interesting) -- just be mindful this doesn't turn into a fire hazard given the heat of your light source. I realize I'm glossing over a lot of technical elements here to do with your camera equipment (aperture etc.) so I just want to emphasize here, you'll need to adjust and scale according to the capabilities of your camera.
Personally, I've been looking into the Profoto C1 handheld studio light, which is specifically designed to create easy studio lighting with your smartphone -- comes with automatic and manual settings. I realize at $300, it's not an every day purchase, but could be a great starter for upping your studio lighting game when you feel ready.
Speaking of your smartphone, this brings me to my next point...
[/half][half]
[/half][/row]

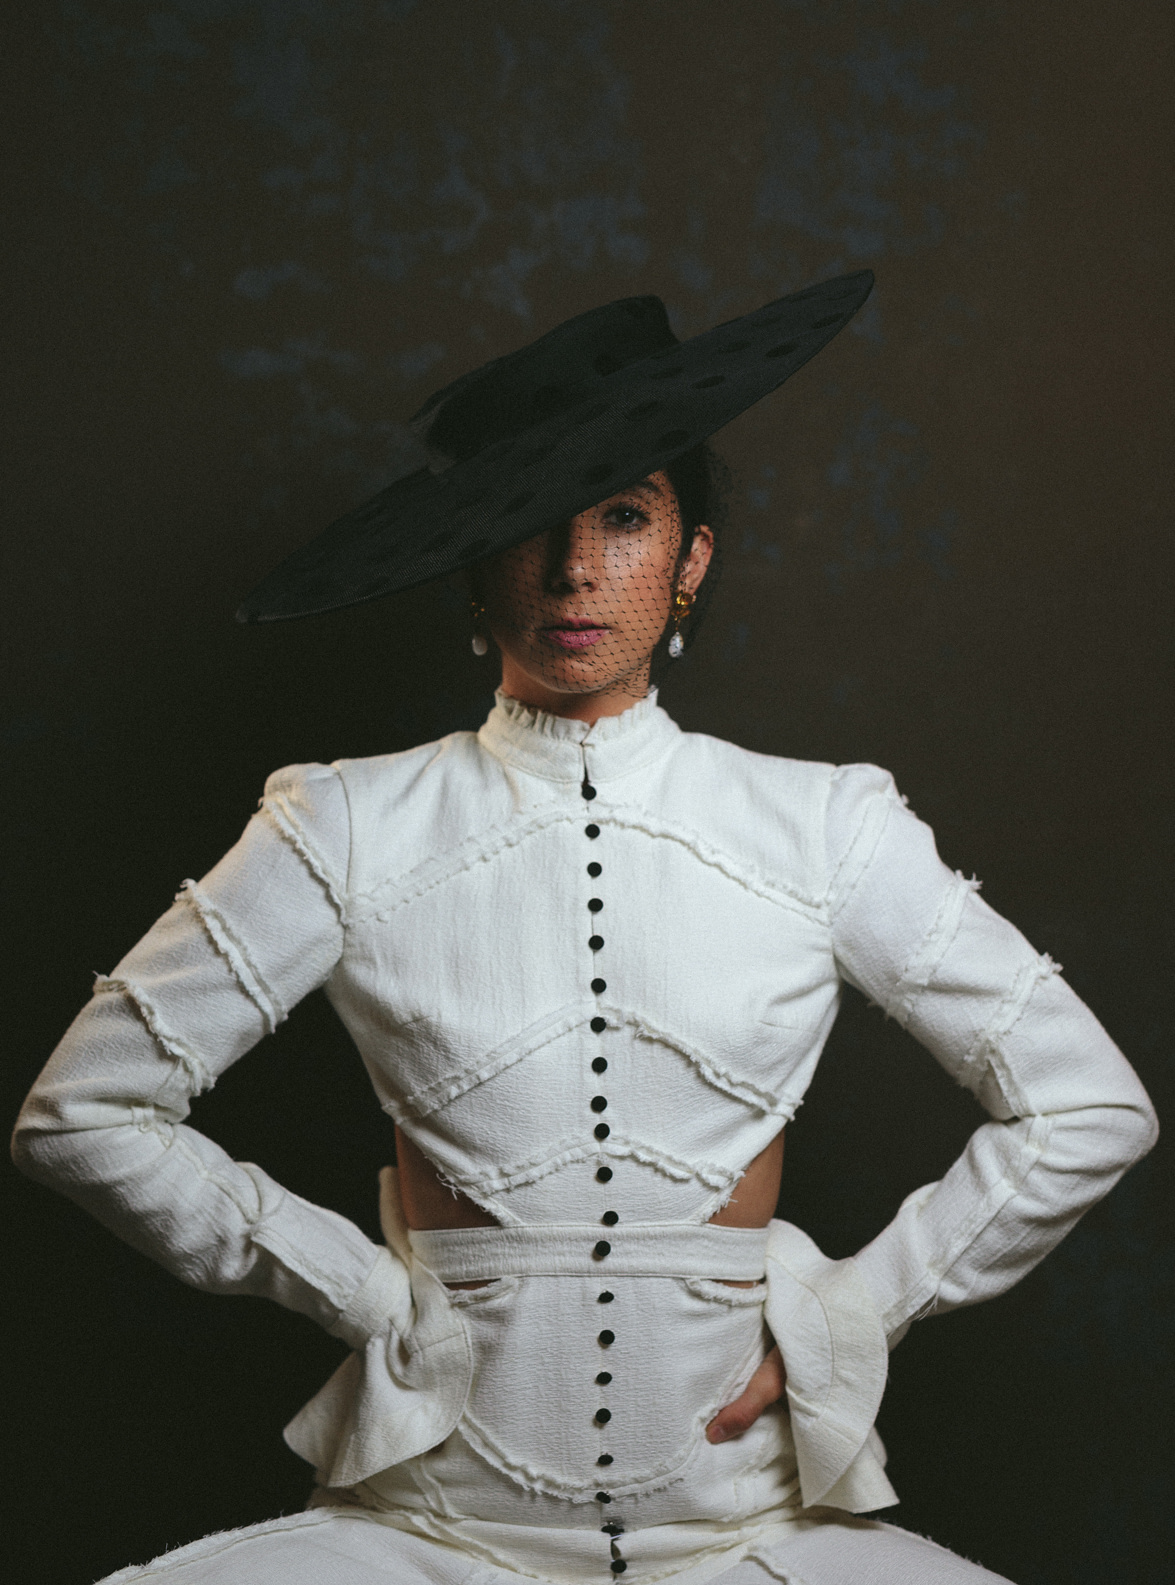
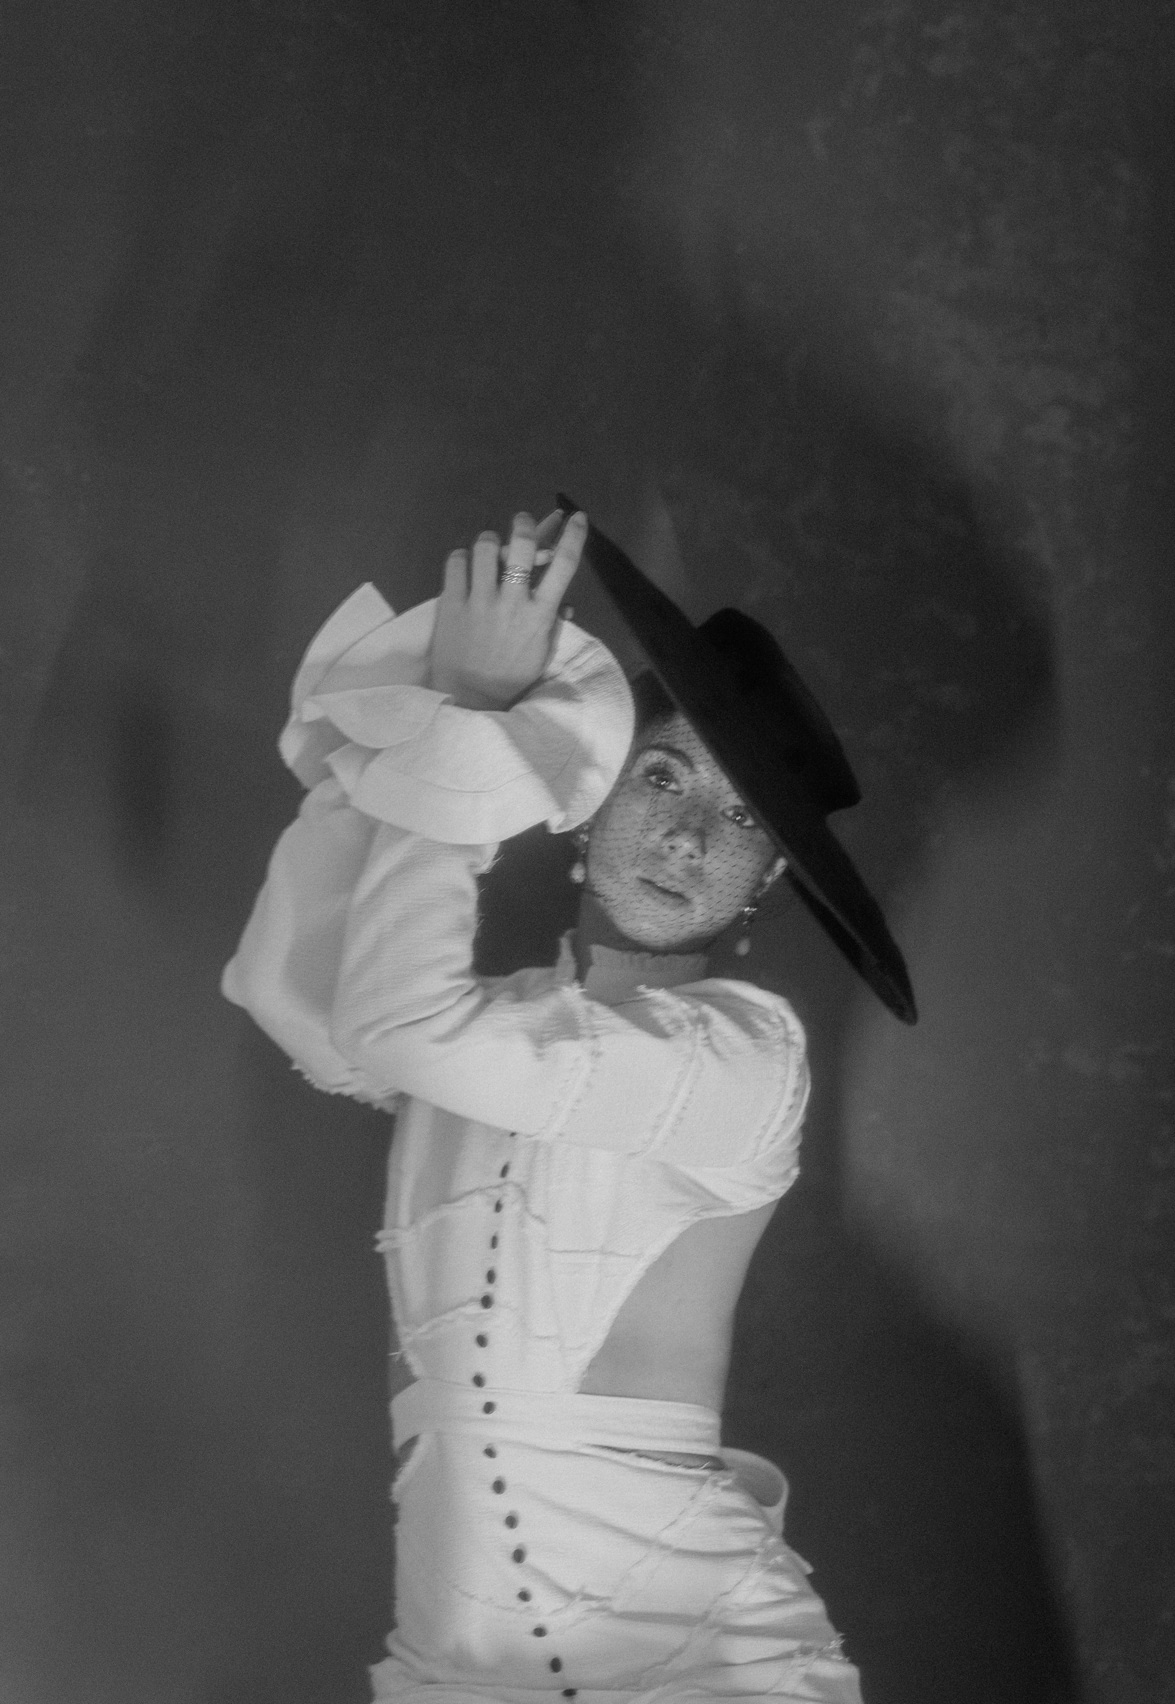
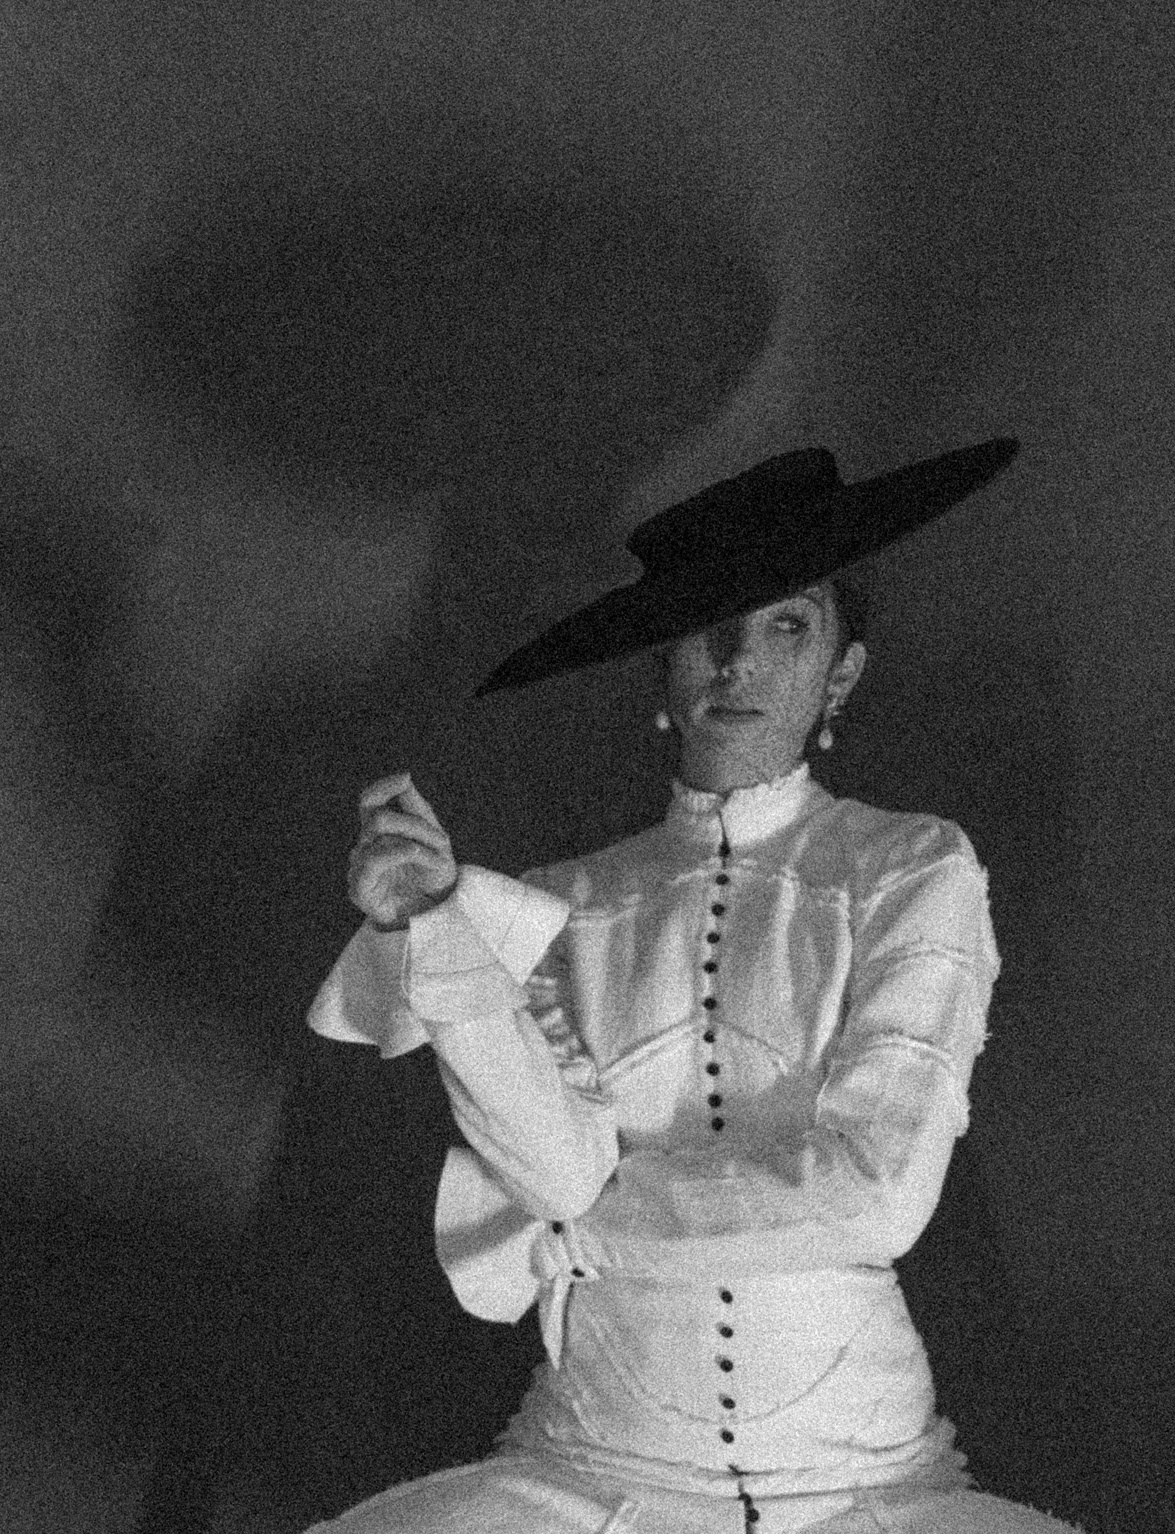
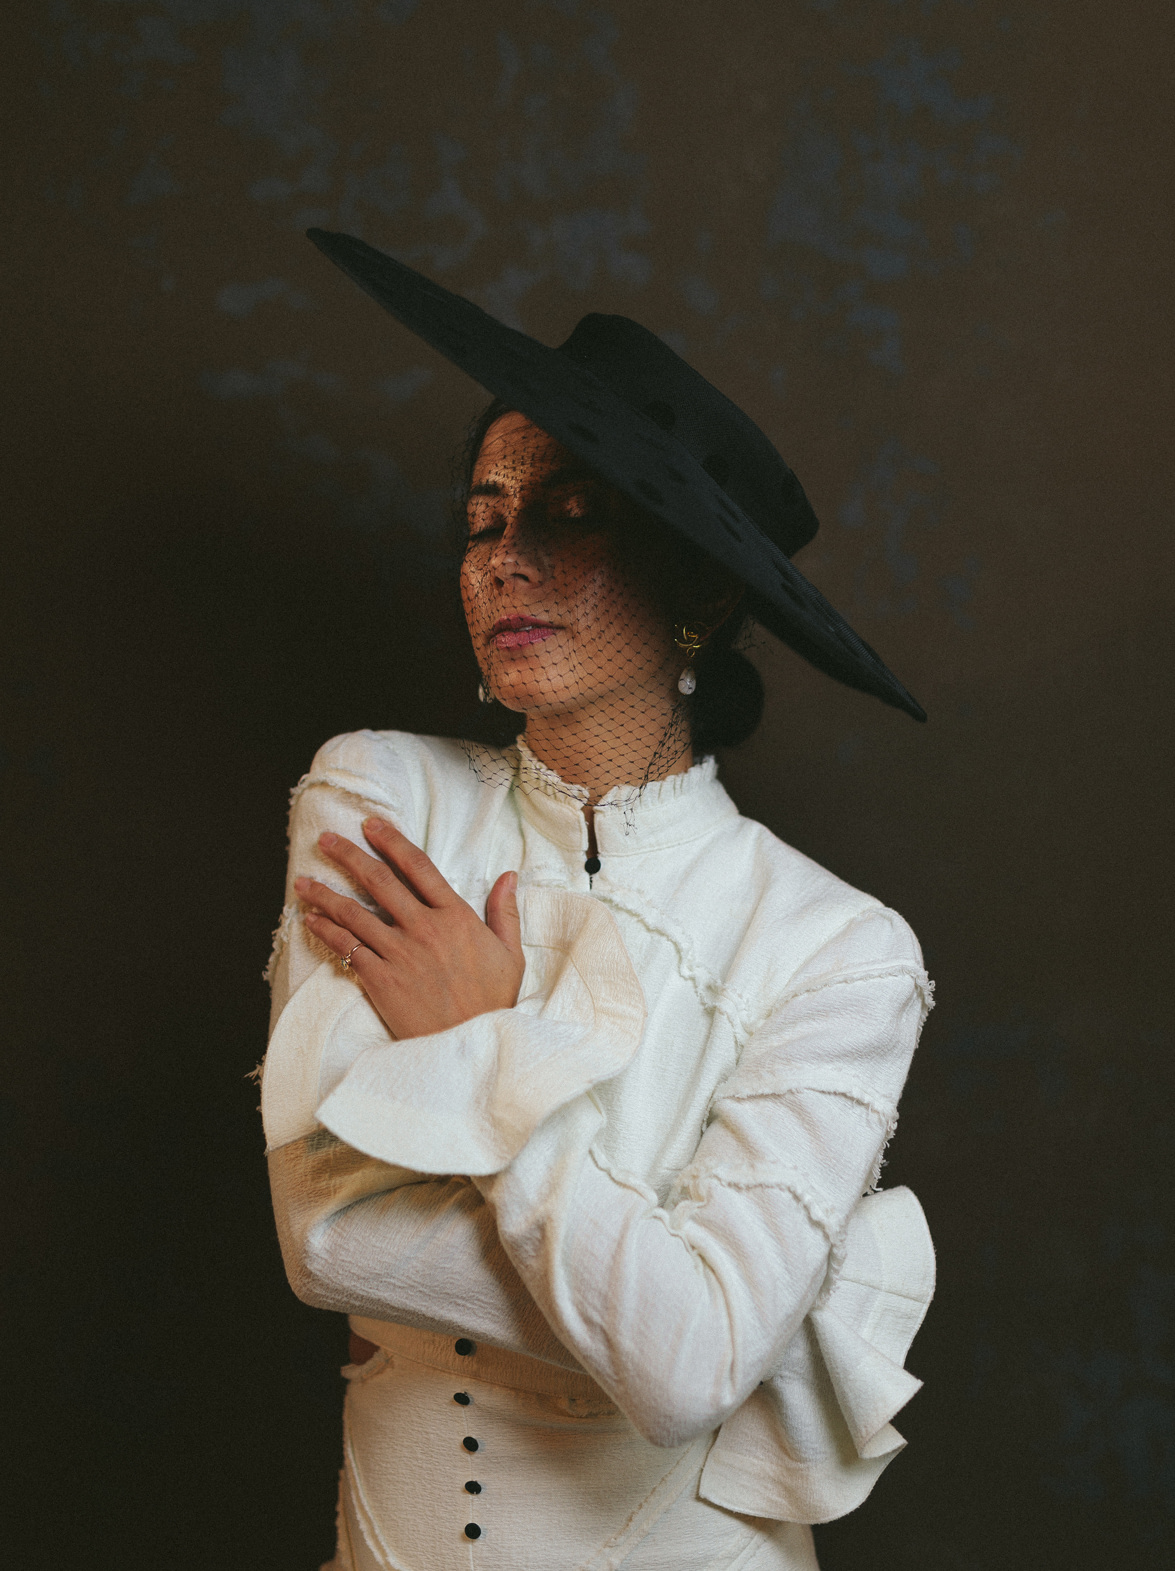
OUTFIT DETAILS: Aje dress (from a few years ago but here's a similar dramatic dress) // Erdem hat // Vintage Chanel earrings
[row][half]
[/half][half]
3. Invest in a tripod and a remote: Regardless of what you're shooting with, at some point, you'll probably want the flexibility to go hands free with your camera/phone so you can jump in the photo yourself! Tripods come in all shapes, sizes and price points -- for both your phone or your camera -- so shop around a bit to find one that meets your requirements. This particular guy accommodates both cameras and phones. Remotes will come in handy when you're looking to create some self-portraits -- and thankfully, they're pretty budget friendly, especially the ones for your phone camera!
4. Get creative with backdrops and floor styling: Got some old sheets, blankets, extra leftover fabric? Well then you have a backdrop! White sheets are always a great place to start to create a blank slate for your photos, but don't be afraid of texture, different colors and materials or even making some new ones out of old items, like painting cardboard pieces to get a painter's canvas look. Of course, how you rig the set up will depend largely on the size of your space but for starters, get heavy duty painter's tape to fasten your materials to the wall. You could also try installing a few cheap, temporary hooks up on the wall to hang your materials from, or even draped across and suspended via tension rods (yep, pull those from your shower!). As far as floor styling, same goes -- in that, anything goes really! Try playing around with pillows or even drapes (I've been eyeing our velvet ones lately) -- for extra drama, try draping these materials OVER your seat/chair.
5. Get weird! Props, are everywhere if you're open minded about it: Look around your apartment and closet, I'm willing to bet you have a TON of things that could make for a dynamic photo. Don't be afraid to arrange, rearrange and arrange again! Books, art work you may have on the walls, paintings, magazines, piles of clothes, of shoes, mirrors, bottles, food, makeup, etc. If you're shooting portraits, a chair/stool is a great way to naturalize yourself (the model) in a photo, and again, don't be too discouraged if you don't love the look of your chair as you can always drape some of your materials over it to disguise it. The main point here is to experiment as props are a great way to tell a complex visual story.
[/half][/row]
And there you have it! The start of your very own makeshift photo studio! While I understand the assumption to create studio caliber photos requires a lot of expensive equipment, (some of which we did use for this particular shoot you see here), I mainly want to underscore how easy it is to simply start experimenting with this process. I promise you'll be surprised by what you're able to create just using the items in your own apartment.
On a related note, would you guys want to see a more technical post, perhaps from my boyfriend Ty regarding camera equipment and lighting? Let me know in the comments below and of course, if you have any tips you'd like to share with everyone regarding your own photo studio, please add them as well here!


[…] energy to influencer content. For example, Krystal Bick produced incredible art and wrote blog posts explaining how to set up a home […]
[…] to be in frame, it can certainly throw you for a loop when every role now falls on your shoulders. Back in March, I shared this post detailing a few tips for getting your own home photo studio up and running. Today, I wanted to […]
[…] Set up a Home Photo Studio – This Time Tomorrow. (Think this could be fun to get your kids involved, too – what might they want to try their hand at photographing!?) […]
Love this! I’ve been plotting a mini in home studio over the weekend and these tips help 🙂 also would love a technical post by Ty!
[…] Source Link […]
This is so great Krystal! I have always tried to figure out where I could create my own studio, but space has always been the issue. I can never find a wall for a backdrop. We have a tight apartment and pretty much no available wall because of lots of windows—which is great for light. (This makes me think I should send you a video of my apt—I’ll do that later.) anyway, I’m sitting, no laying here in bed, and my wardrobe jumped out at me! While reading this, peeking out from behind my phone is my “wall!”
Thank you for all these tips. I loved them. And yes to more from Ty. Yes please!
Love, Annie