
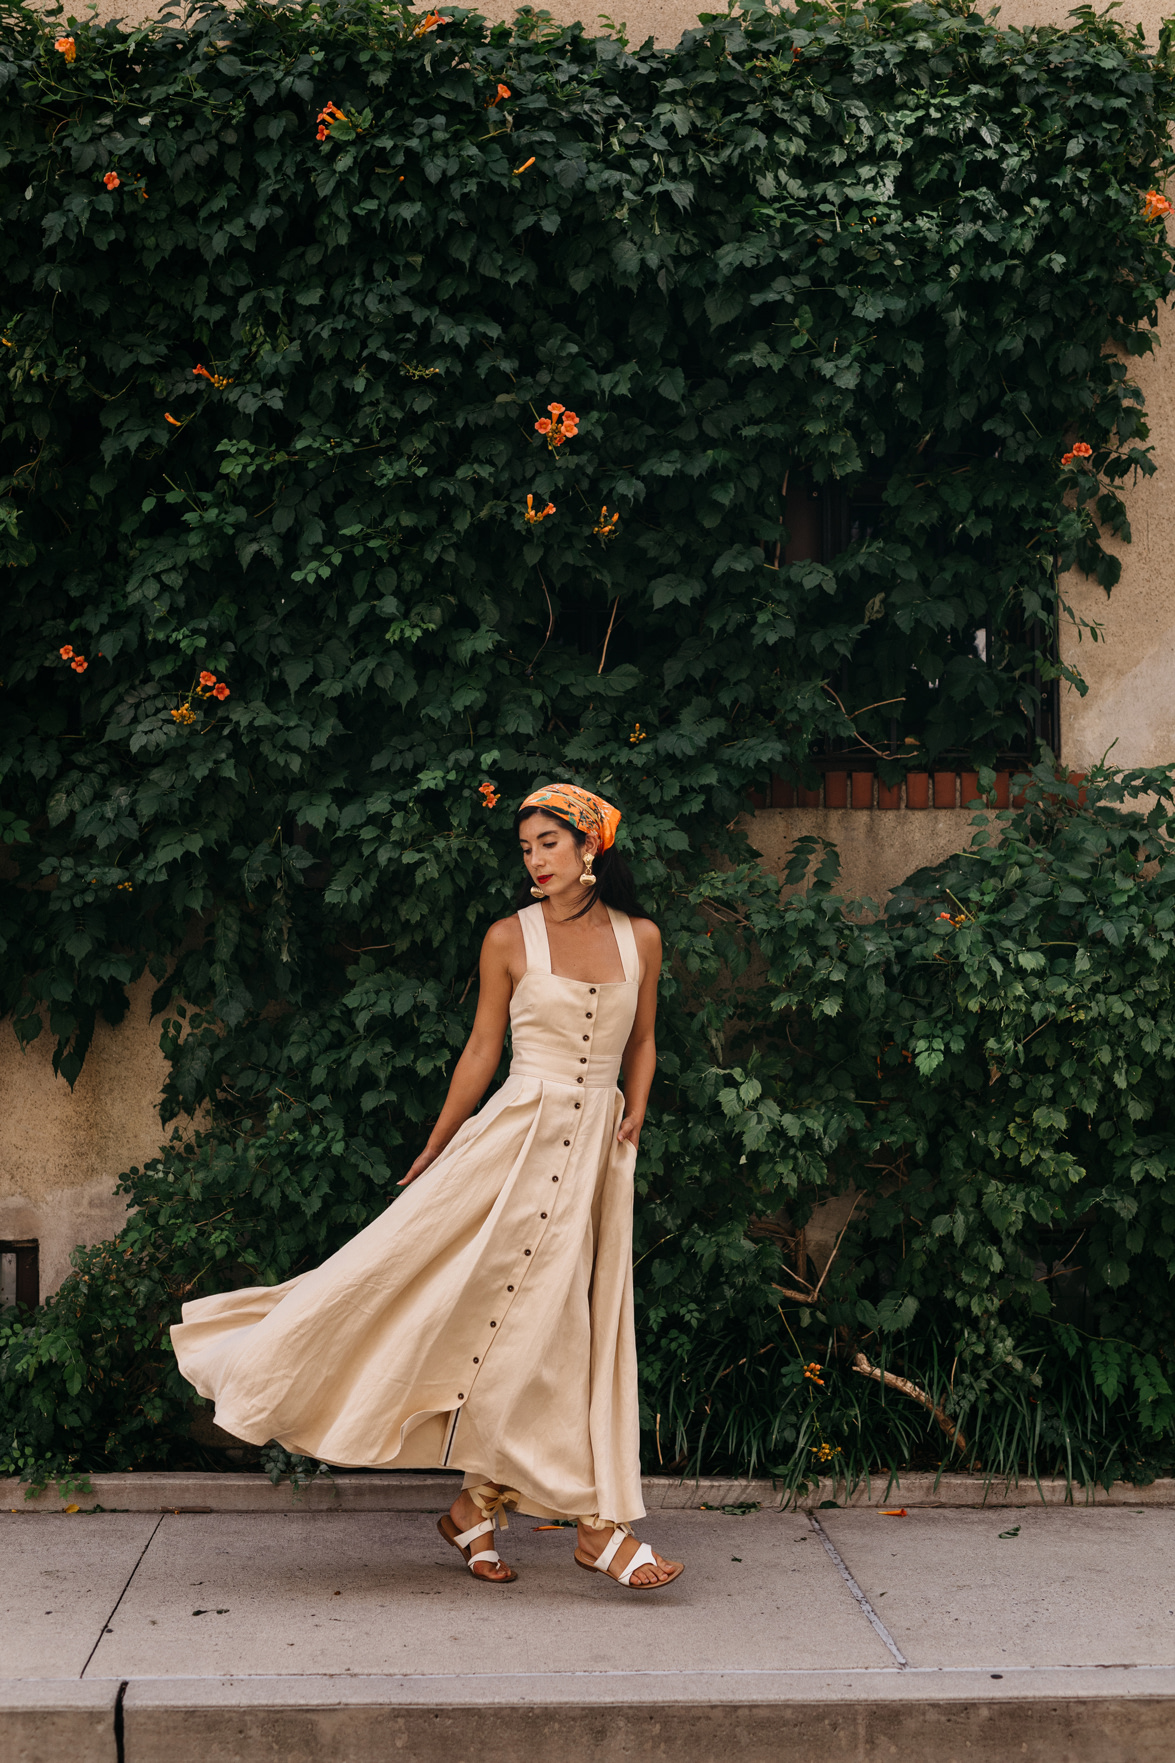
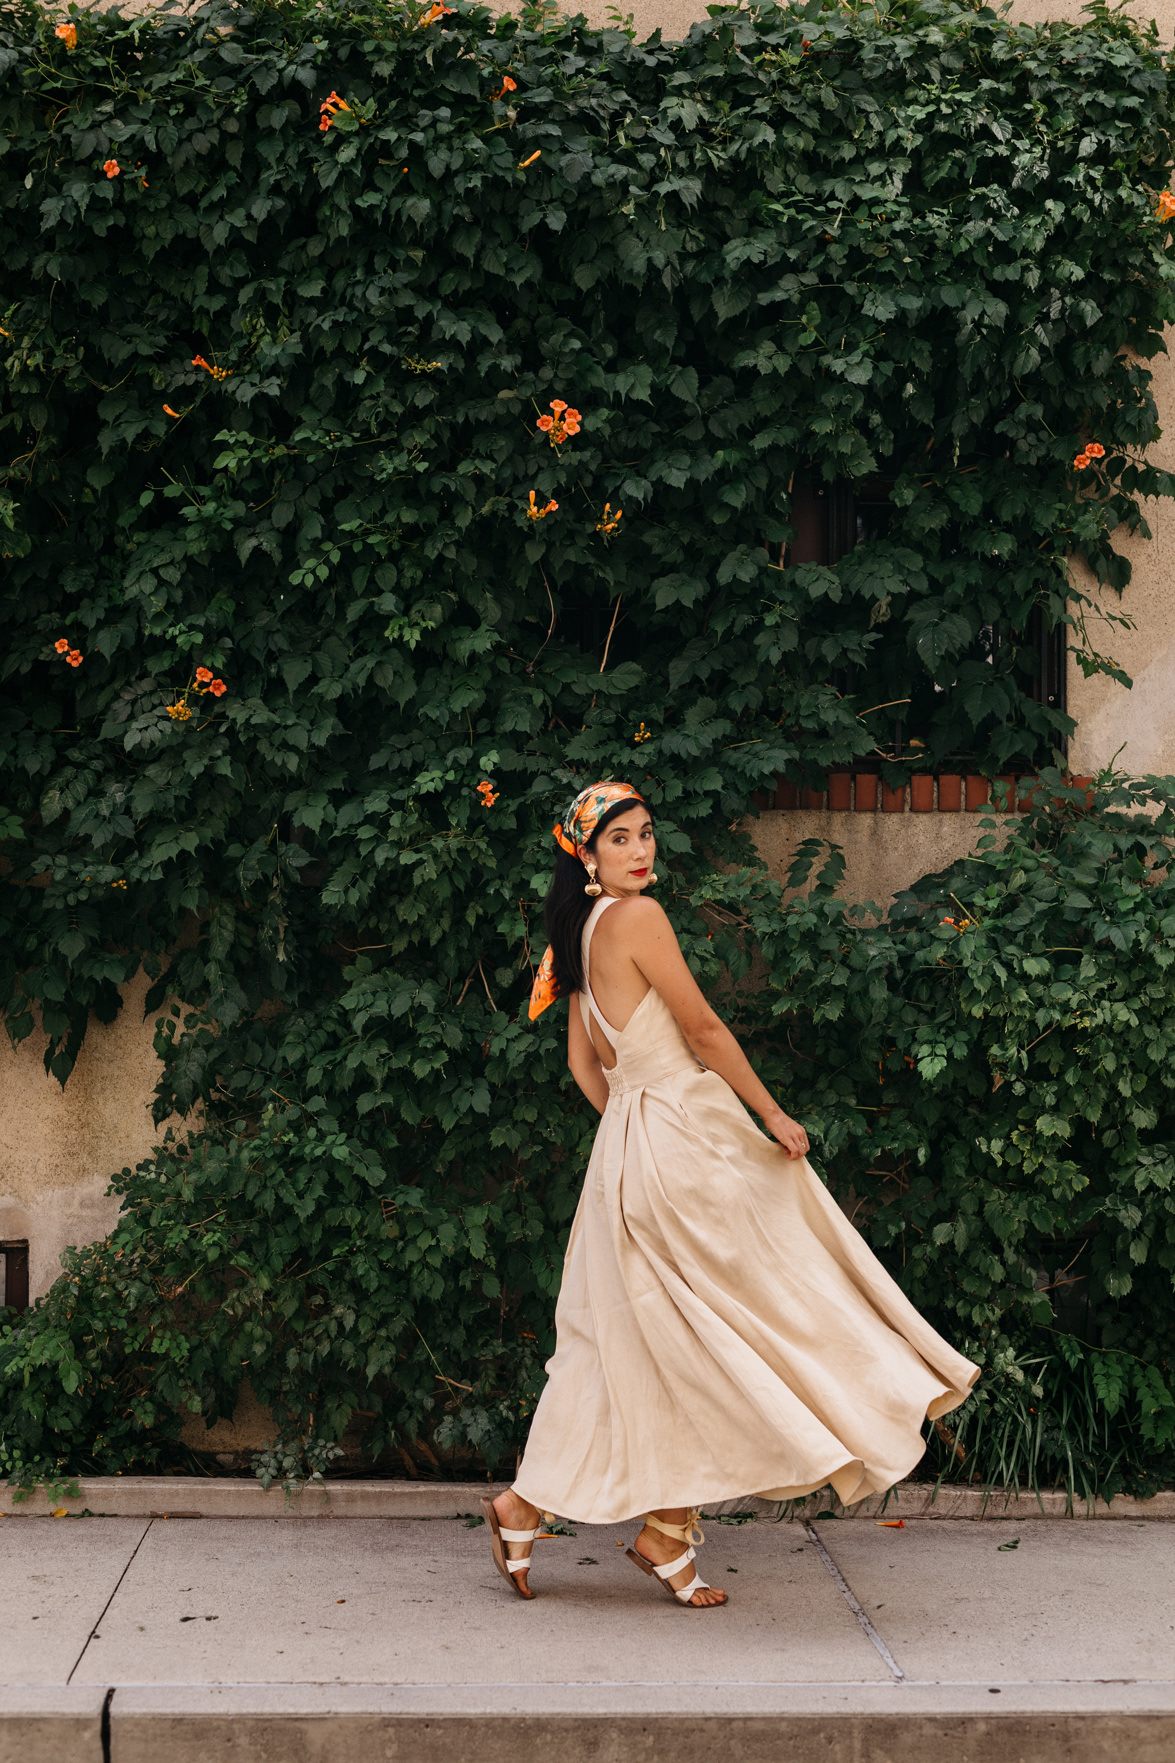
OUTFIT DETAILS: La Ligne dress // Vintage scarf (similar style here) // Sarah Flint sandals (gifted) // Audrey Leighton earrings
[row][half]
[/half][half]
Your self-portrait questions, answered!
Last week, I shared this post with 6 somewhat self-taught lessons and tips that I've learned, mainly the hard way, when it comes to taking my own self portrait. I said then and I'll say it again, I have a LONG way to go when it comes to feeling more and more comfortable as both the subject and the photographer, but it's a process that's kept me largely sane and curious during these long months at home. I know I'm much more at ease when I have a long-term project in my hands and learning and practicing my own photography has been just the creative outlet I need, especially lately.
And by the looks of all the questions you guys sent in, you're also eager to perfect your own! Before I start, I want to thank everyone who sent in a question. I tried my best to group the questions by topic, but as always, if you feel like something has been glossed over or missed, please feel free to ask a question down below in the comments!
ONE // What's your equipment set up?
I primarily shoot with a Canon 5D Mark IV with a 50mm Sigma lens. Truth be told, it's my boyfriend's camera (but I've pretty much claimed it as my own at this point) and while I know there are plenty of reasons to opt for a Sony, Leica or something mirrorless for the sake of weight, I've always shot with Canons. I suppose at this point, it's a familiarity differentiator for me.
At the end of the day, camera bodies have little to do with the end product. Lenses, on the other hand, are game changers. Nine times out of 10, you'll find me using the 50mm Sigma lens, occasionally I'll use a 20mm lens for a wide angle shot (like a landscape or landmark or a room that I want to show all the details of). Next on my list though, is a 35mm lens, as a nice in-between option, especially given that I'm often trying to shoot photos myself on the street, where there is little to no wiggle room when it comes to scooting the tripod further back.
As for a tripod, I currently have this Manfrotto travel version, that reaches a maximum height of 64.6." It has a ball head, meaning you can easily orient the camera horizontally and vertically and as far as packing up goes, it's a relatively compact option for shoots on the go.
[/half][/row]
With regards to a wireless remote, I had purchased one few months back to use with my Canon M6 EOS, but was sorely disappointed when it simply stopped working after a few weeks of use. I'm still a bit bitter about it. Currently, I rely on a self-timer but I'm in the market for a new wireless remote compatible with my Canon 5D. I'll report back when I find one.
At the moment, I don't have a fancy camera bag that I've gone out of my way to research just yet. My boyfriend had this Canon camera backpack lying around, so it's become my default go-to. Fits up to 2 camera bodies, 3-4 lenses and is amazingly waterproof as I've been rained on many times while out shooting.
TWO // Do you ever use your phone? Any tips for shooting solely on your phone?
I rarely shoot my Instagram photos on my phone anymore, but that's not to say iPhone's aren't capable of AMAZING things. Every time a new version comes out, I'm blown away. First things first, you'll want to find yourself a tripod -- I don't personally own this one, but I'm tempted to try it out. Reaches 60" (one of the tallest I've seen) and looks like it can hold certain DSLRs depending on their weight. Most phone tripods come in a bundle with a wireless remote, which is incredibly handy!
As far as tips for shooting with your phone, I don't have many, other than utilize that remote that comes with your tripod and check out my friend Jessica Wang's TikTok profile. She has lots of iPhone camera hacks that are pretty genius if you ask me!
THREE // How long does it take to shoot photos by yourself?
There are a lot of factors that can affect my timelines, but generally speaking, I usually shoot for about 2 hours each day, before I call it a wrap. By that point, I'm pretty confident I have a few shots that I really love but I'm also familiar with days where I walk home empty handed. It's part of the process so I try not to worry or put too much pressure on myself about it.
I mentioned this in my other blog post, but it's helpful to set expectations when you're shooting yourself, especially when you're starting out. Comparatively speaking, when I shoot with a professional photographer, over the course of a 1 hour shoot, we'll cover a lot more ground and try different angles that are really only feasible if you have a second person there. When I go out to shoot by myself these days, I try to remember that I'm aiming for 1 or 2 shots that I really love. The rest is a bonus.
FOUR // What's the process like, from start to finish?
Generally speaking, after a bit of location scouting beforehand, I have a location and a time of day pinned down. I mentioned this in my last blog post, but I enjoy shooting at golden hour the most, which generally hits between 5 and 7:30pm here in New York during the summer. That said, I usually leave my apartment to get to my desired location about a half hour before I know the light will be ideal just to scope out what obstacles might be in my way. Obstacles may include a blocked street, a delivery van in frame, way too many people (normal foot traffic is fine though), scaffolding, the list goes on and on and best part? Sometimes, you get all of the above obstructing the shot you might have envisioned. A bit of buffer time will allow you to reframe the composition, if possible, or try another spot nearby.
Once I find a spot that works, I'll grab the camera out of my bag first and snap a few different angles for comparison sake. Once I'm happy with a certain angle and spot, that's when I pull out the tripod to start. While shooting, I try to refrain from overshooting a certain angle or composition -- generally speaking, after reviewing several sets, if there are 1-2 that I really like and that I've ensured are in focus, I'll reframe a different shot. Perhaps a detail. Perhaps more of a portrait. Perhaps more of a wider frame to show off the environment. On average, I end up with 200ish shots (on the high end) to review afterward. Depending on how long I've been out and what the light is doing that day, I might try a second location for variety sake. Some of my favorite shots happened after I already decided to walk home, when at the last minute, I spotted an interesting corner that caught my eye. I can't stress this enough -- try to observe as much as you can. Not just when you have the camera and tripod ready to go. But always. When we head out for our neighborhood walks with Elvis, I'm constantly making mental notes (or on my phone if I remember to) of interesting buildings, unique light at certain intersections. I'm basically daydreaming up shots whenever I'm not shooting, which ends up helping to guide me because I already have several starting points in mind. Takes some of the guess work out of it.
FIVE // How do you work with the light, as opposed to against it?
Can I just say, I love this question? Also, can I just say, light is one fickle mistress! The only thing predictable about her is that she'll change, on a dime. And then, she might just throw rain at you, for good measure. Generally speaking, early morning light and golden hour light tend to be the "easiest" to shoot in and they'll look overall, more flattering on most skin tones. Personally, I love golden hour (you're probably tired of hearing me say golden hour at this point, huh?), so when it comes to shoot schedules, I structure my day around those time slots being my ideal shooting time. During golden hour, the light tends to be quite warm, giving you a nice hazy glow effect, so I'm constantly looking for ways to play with it for interest sake. Perhaps that's reflected light from a nearby building shining onto an opposite wall or perhaps it's the shadows cast from a leafy tree, I'll walk into frame of my shot and move my face around until I "feel" the light shine pretty much in my eyes and face.
Of course, all of this should be caveated with the note: shooting in different lighting conditions takes practice! And some of the best advances I made in feeling comfortable with different light was largely in part thanks to simply carrying my camera around to snap test photos. Get really comfortable with the manual settings of your camera -- take a Saturday afternoon walk and see what you capture along the way. How does it make certain buildings and passerby look if you tweak the settings here and there? Don't worry about making every shot beautiful or even interesting -- think about how the light is behaving in that shot and what things you can change to manipulate it.
I'm aware I'm oversimplifying this perhaps -- but bottom line, practice with your camera well before you ever head out to photograph yourself with a tripod. You'll feel much more comfortable if you have an idea of what type of light intrigues you and how to incorporate it like a character into your photos.
SIX // Any tips for posing?
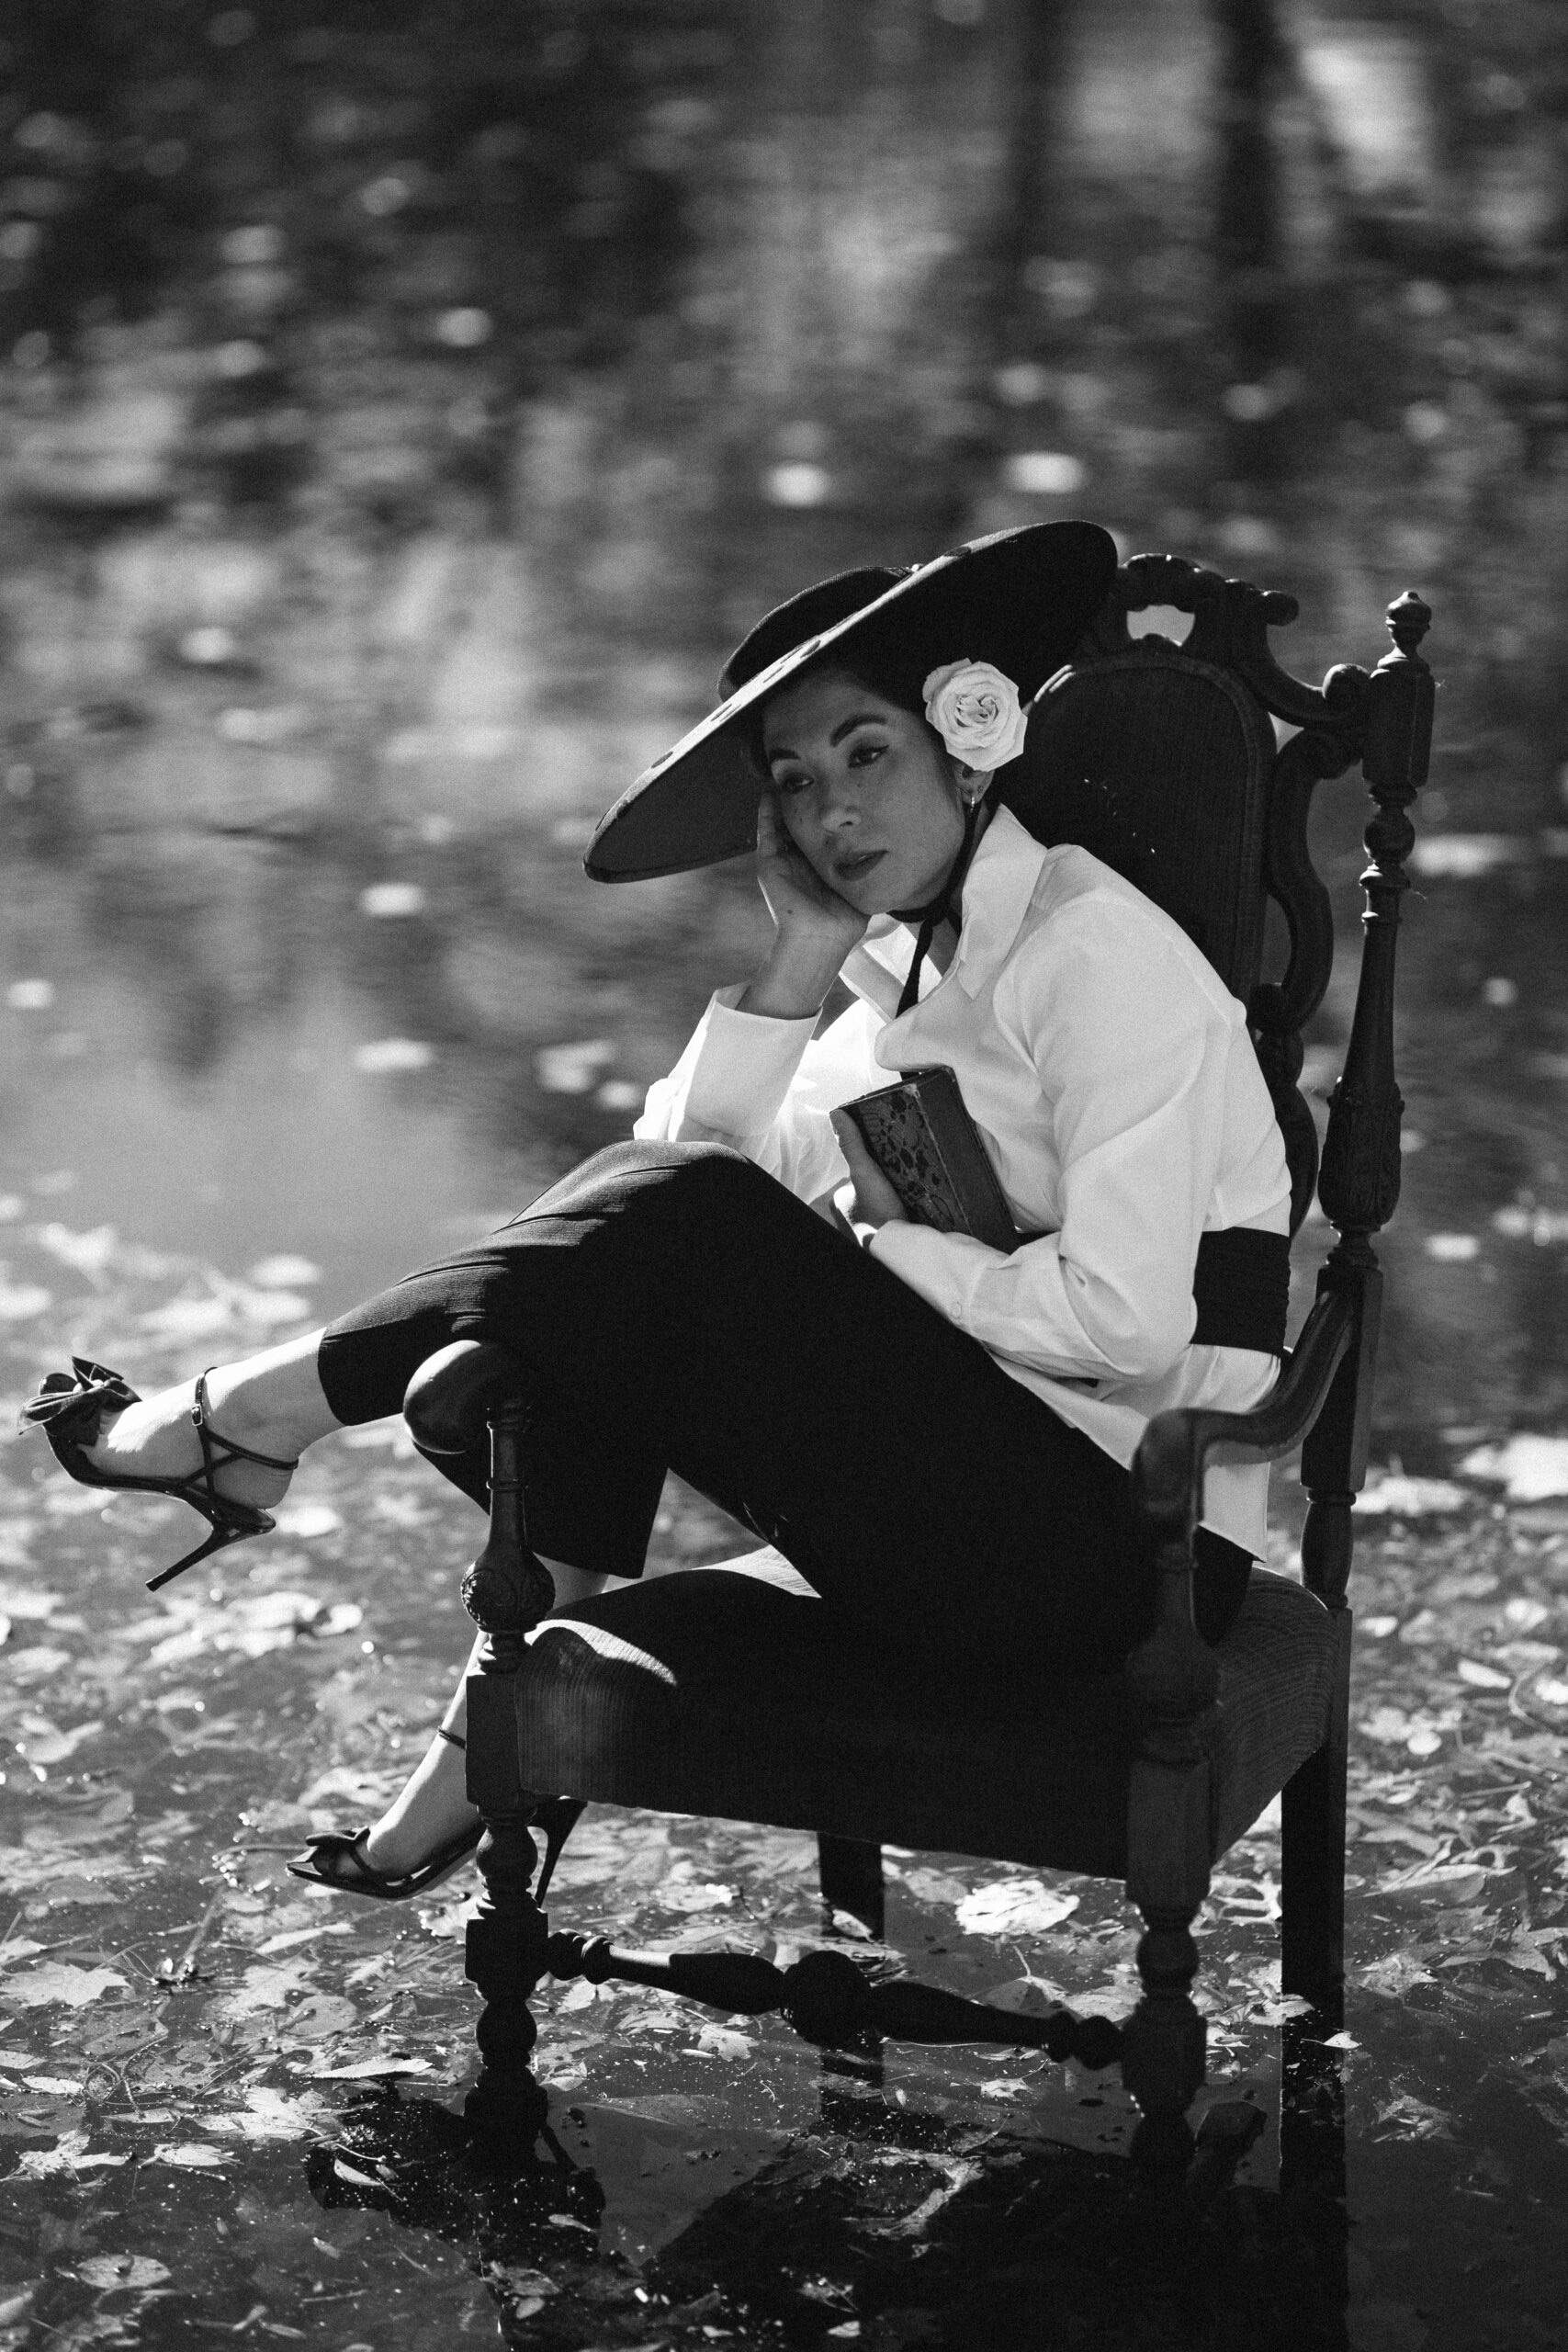
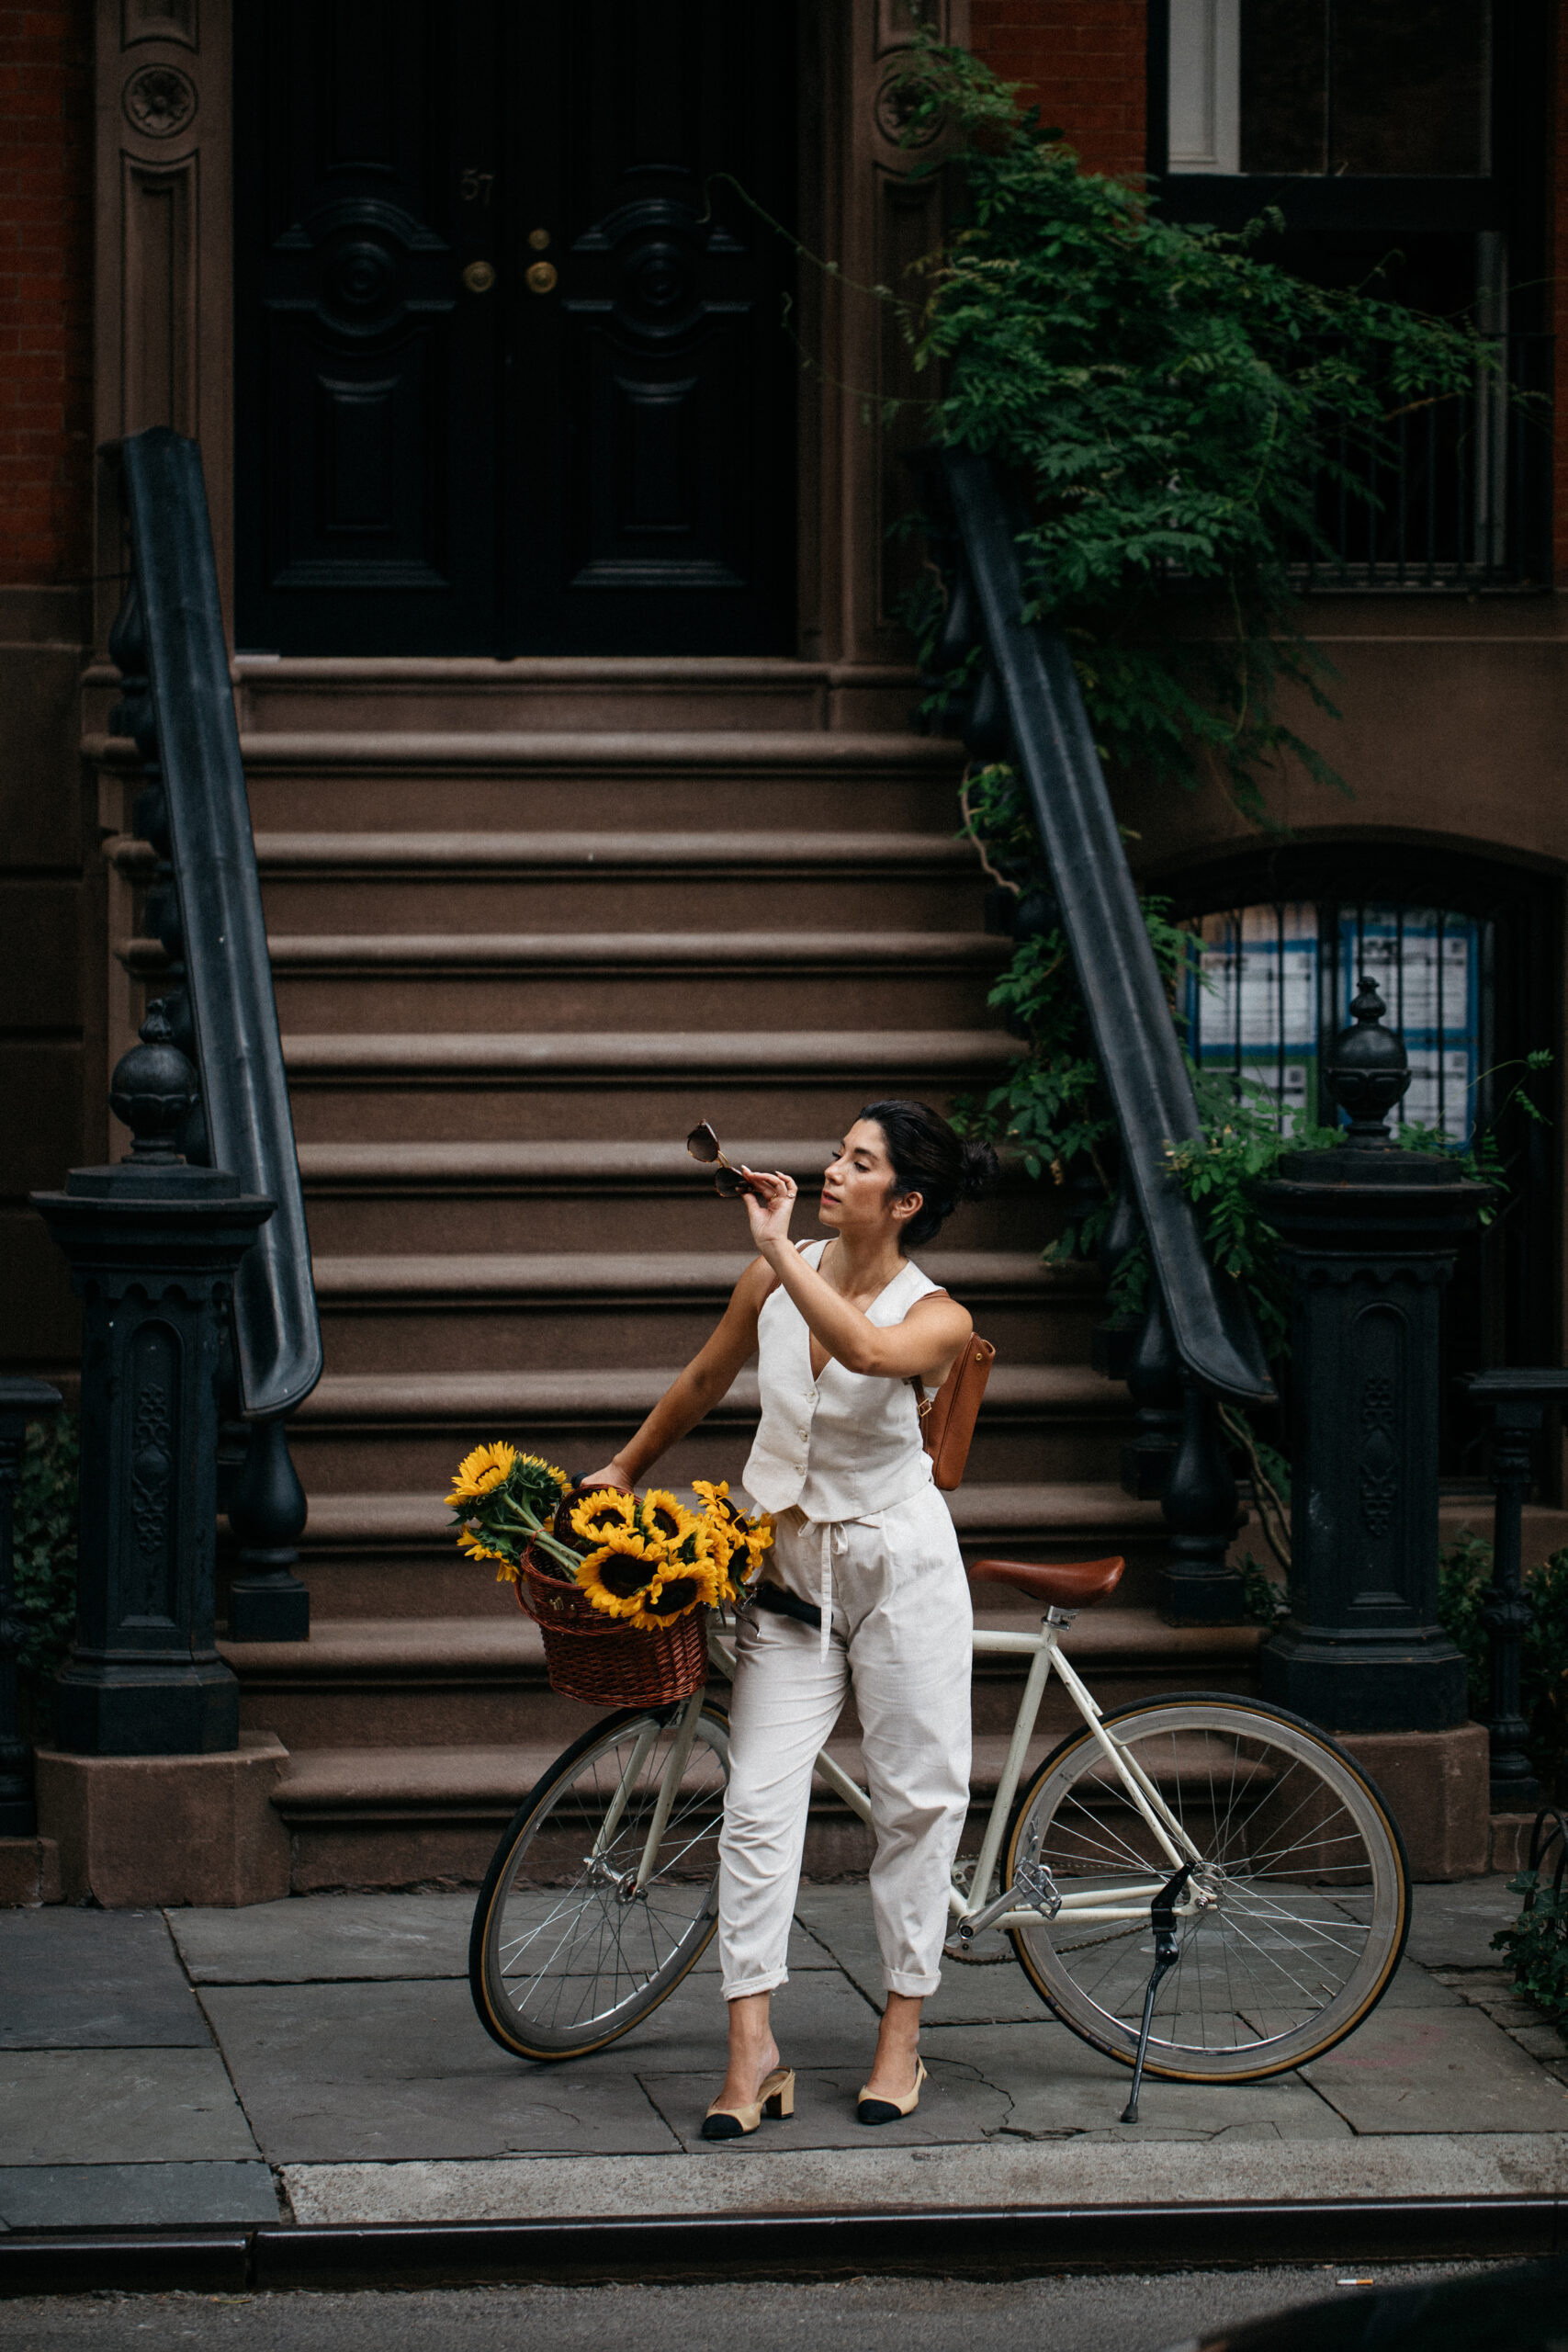
This one was probably the most asked question with the next question coming in at a close second. Posing is HARD. I won't deny that. But at the same time, since you are pretty much doing this on your own, there's some freedom to get weird with it. So get weird! I've shot with enough photographers now at this point, that I've accumulated my "bag of tricks" so to speak when it comes to posing, so I encourage you all to try to figure out what suits your style, your personality and your story best. I get a lot of general inspiration from classic movies, vintage fashion photography (Irving Penn and Richard Avedon to name a few), which I then I try to interpret and make my own when it comes to poses. I find the poses that feel a bit odd or awkward, I end up liking the most. In case it's helpful, here's what I think of while shooting:
- Small movements, play with elements of the outfit to make them feel dynamic, as if they're caught in motion
- Breathe through your mouth every once and awhile -- it'll relax your face and help with that dreamy, far off look
- Avoid looking at camera for every shot, instead look down the street, glance down at your dress, maybe try leaning your head back and closing your eyes for a pensive moment
- Think of an "S" shape -- creating a crossing motion with your legs, either while standing still or stepping forward, gives extra shape to your silhouette
- Don't be afraid to laugh!
- Pick a small detail to fixate on -- perhaps fixing the strap of your heel? Or digging through your bag looking for lipstick? Or perhaps you're putting your lipstick on in the mirror of a nearby car?
SEVEN // How do you overcome the awkwardness of people looking at you?
For the record, I don't know if the awkwardness ever fully goes away. But I do think it's very possible to become much more comfortable with that awkwardness and push through it, which is my main goal each time. I accept the fact people will likely stop, stare, sometimes they try to snap a photo as well and I've even had a few guys just post up nearby to smoke a cigarette while watching me (um, strange much?). On the whole though, most people don't spend too long dwelling on it. If you look like you're busy, working away at setting up the shot, most people will keep moving, minding their own business. At least in New York, this is largely the case. I try to be respectful of sidewalk space, apologize often to anyone who might be trying to pass by and I'm also very aware of neighbors or property owners who might be curious about who or what I'm photographing for. Rule of thumb: I try to zero in on what I'm doing, usually ignoring stares, unless someone wants to come up and ask me something, which I'll always have a smile for, usually telling them "Yes, I'm a photographer, the light here is just so pretty isn't it..." engage in light small talk before telling them that I wish I could chat longer, but I'm working under a deadline and I have to keep going. People will surprise you! Sometimes in a bad way -- I've been kicked out of places more than I would like to admit. And sometimes in a good way -- just the other day, I had a building manager come out of an apartment with a broom because he wanted to clean up the street for my photo. How sweet is that?!
All of this is easier said than done, of course. Just know, it gets easier the more you do it!
EIGHT // Tips for setting the focus accurately?
Depending on the auto-focus capabilities of your camera and if you're using a self-timer or a wireless remote, focus can be one of the biggest pains in the butt. And there are still times when I get home, only to realize the focus was slightly off in some of my shots. UGH. I'm now in the habit, while out shooting, of zooming in on a lot of the shots I like to make sure the image is clear and crisp. A lot of cameras use face-tracking capabilities to set the auto-focus, which generally works fine, unless you're moving a lot or perhaps don't want your face forward, which means you'll need to set the focus before hand by designating the grid points in your view finder on another subject/object where you intend to stand. To set my focus, I've used everything from a chair to a hat rack, from a sign post to a street lamp -- just make sure you're assuming the same exact spot as your placeholder. For ease sake, shooting on a wall tends to be the easiest for the above reasons, so start with that first and challenge yourself with different angles and orientations as you get more comfortable.
NINE // How to best capture motion without it becoming distractingly blurry?
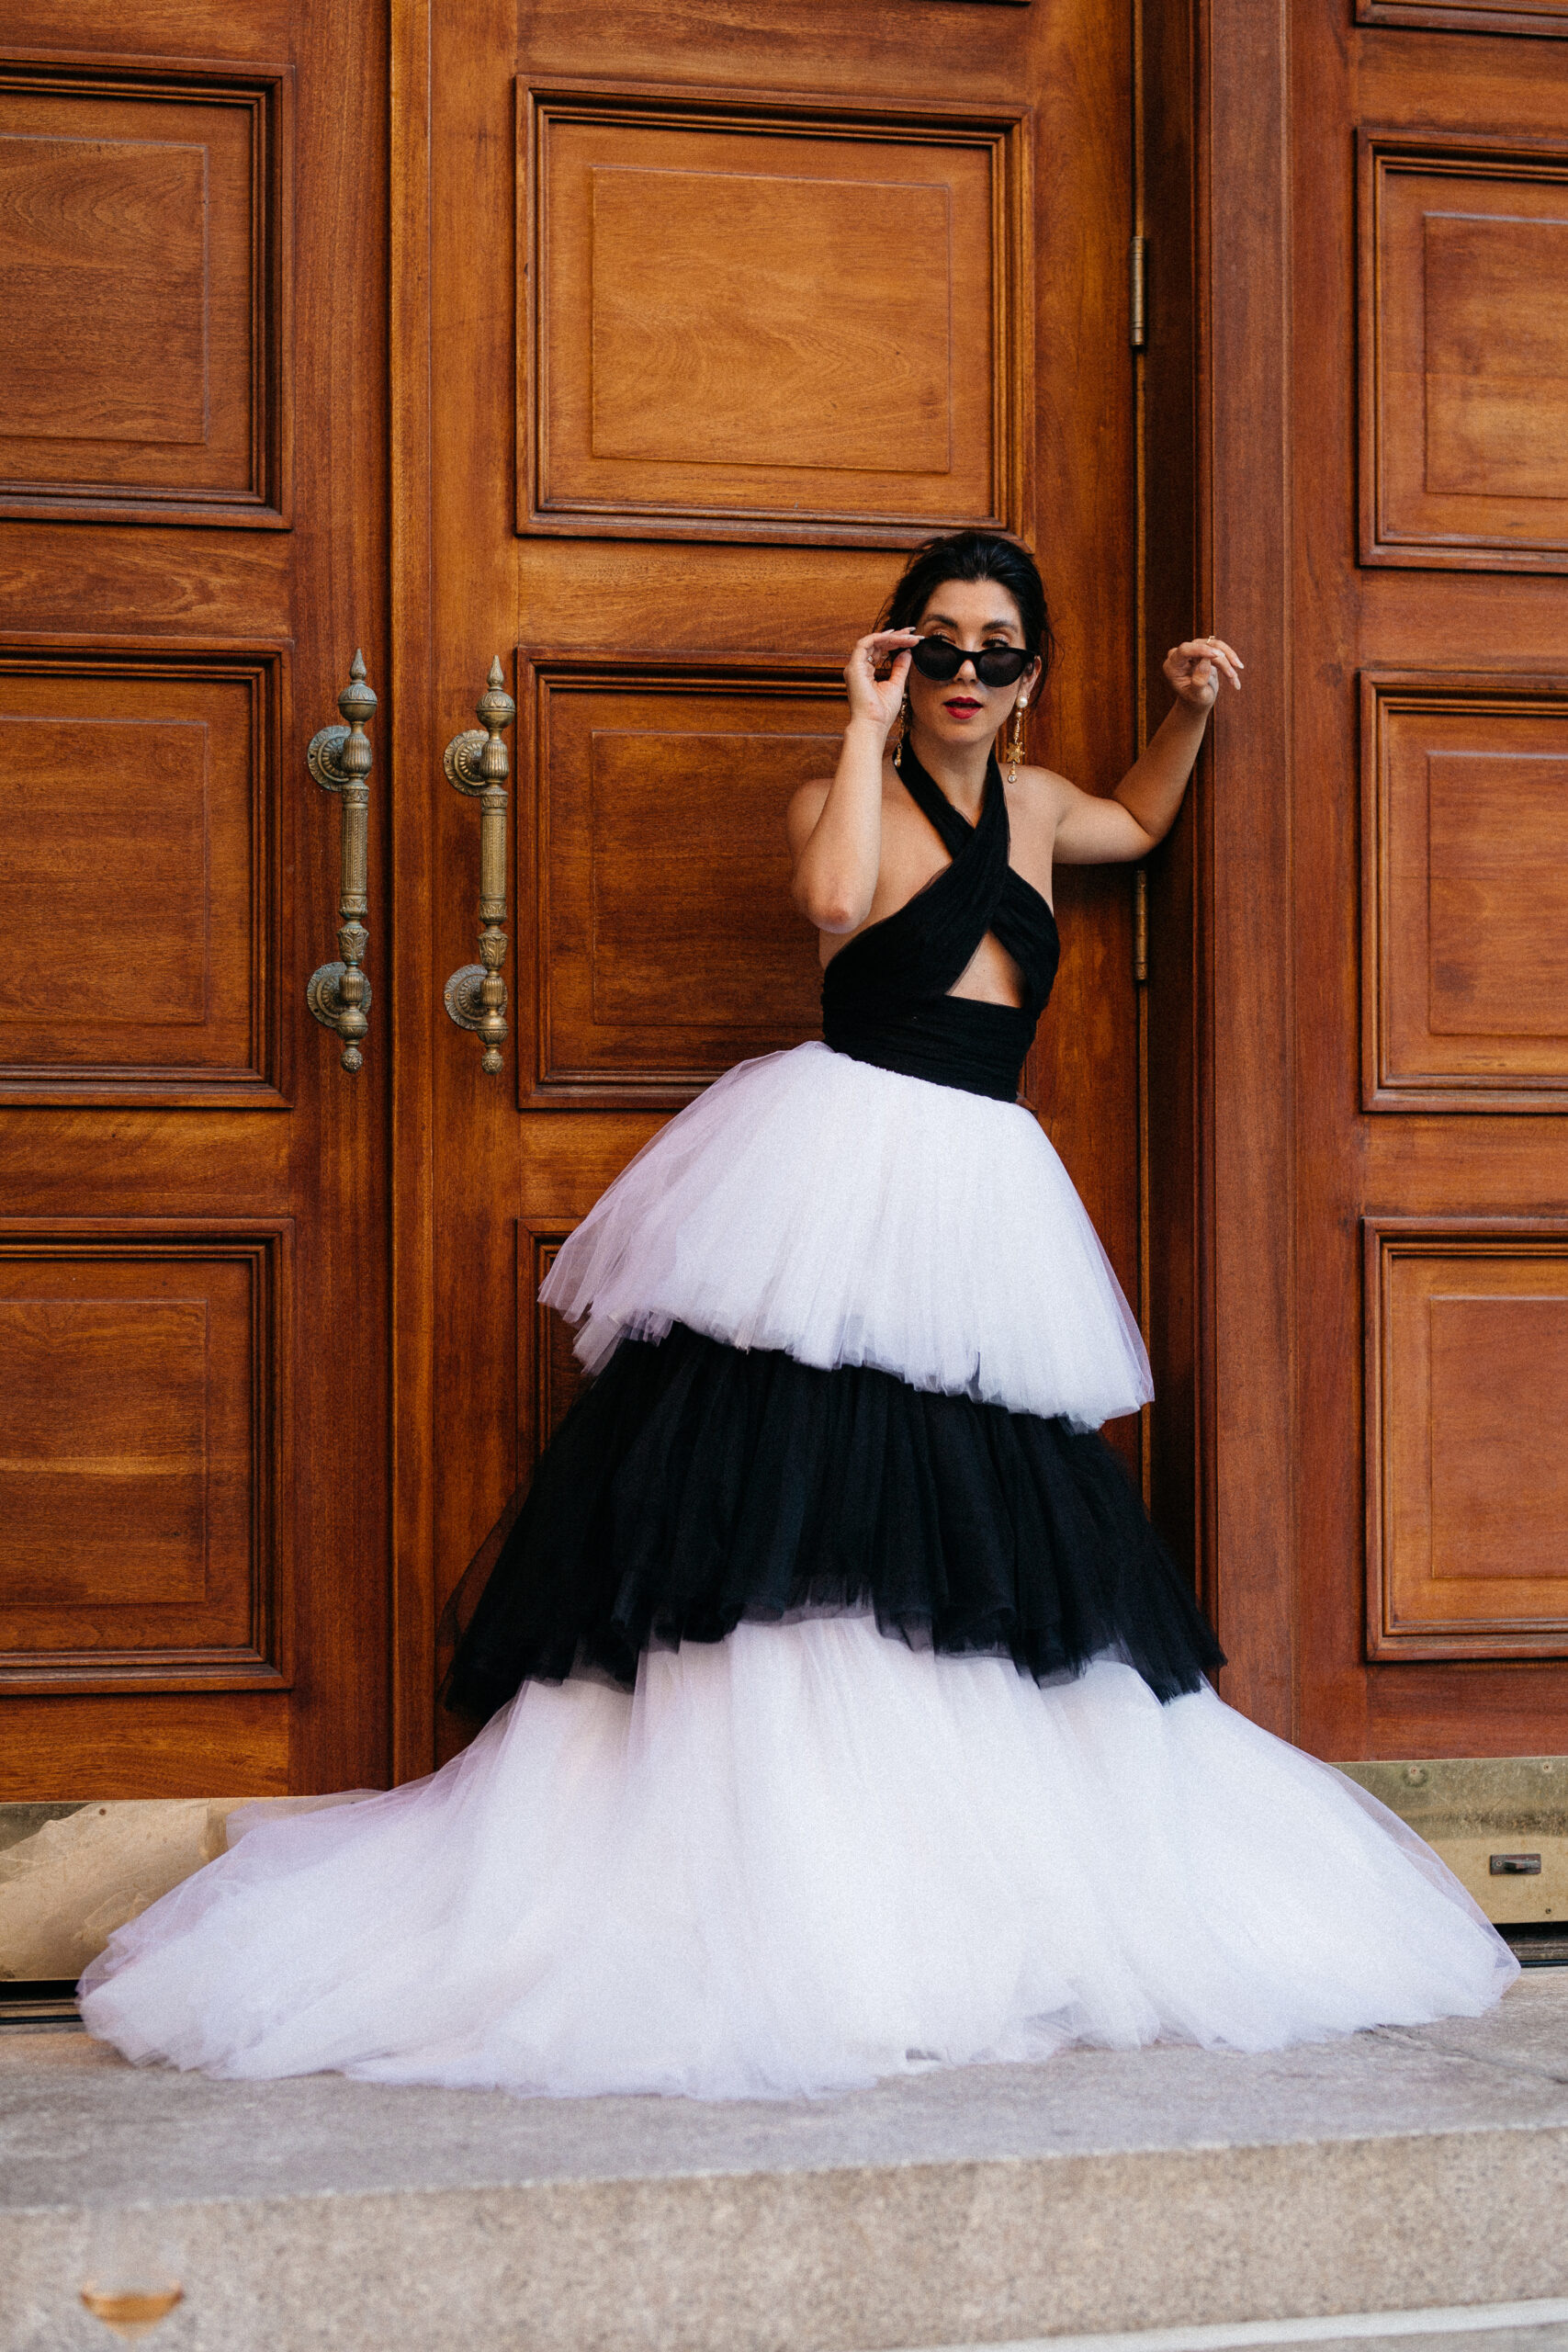
Lots of great shutter speed questions! My rule of thumb is pretty flexible, but whenever I'm shooting other people or myself, I try not to go any lower than 1/160, with 1/125 being the absolute lowest. That said, since you are shooting with a tripod, you can inch lower than this if you're going for an intentional blur -- sometimes I'll do this with dresses where I want a soft motion blur of the twirl. If you want that movement to be crisp though, I'd recommend bumping closer to 1/50o or above. For reference, these photos where I'm twirling in front of this trellis wall, my shutter speed was set to 1/2000, which helped give me a VERY clear and crisp twirl.
Photos by me
Such great tips! Couple of other questions if you wouldn’t mind answering. Do you always travel in the outfit you are shooting in? If not, any tips for outfit change while out and about? How far do you generally position the camera away from you? Any tips for making sure no one runs off with it while you are posing? Thanks again!
I have been shooting myself (that sounds morbid, but you know what I mean) for a while now. My teenage daughter, who is an amazing photographer, has quit. Hence, Remota (my name for the tripod, camera, and iPhone remote throuple) and I head out for all my blog’s photography of me. I find the commentary from strangers to be rather funny. Just the other day this guy was like, “You’re shooting in front of the sanitation building!” I told him, “Look how the colors match my outfit. See?” He chuckled on his way.
Ya just gotta go for it!
You’ve gotten amazingly great at self-photography Krystal! Way to go!!
Love,
Ann